The Decompression microservice is used to decompress the incoming data or file and to send it forward. This microservice can decompress the file and store it to a target directory. It makes use of the APIs available in the java.util.zip package. It decompresses the text and the hash table values existing in the incoming document, and then sends the document forward.
Configuration and Testing
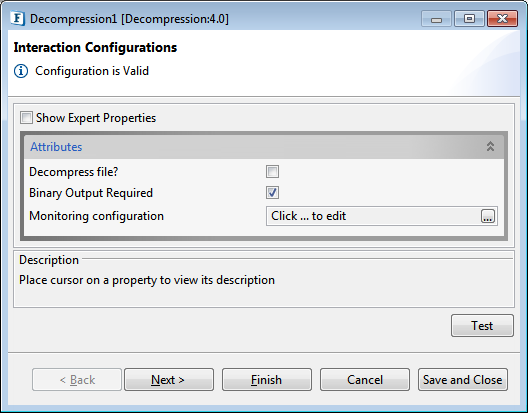
Figure 1: Interaction Configurations panel in the CPS
Attributes
Decompress File?
This checkbox has to be enabled for decompressing the input file.
After this property is enabled, below attributes (which appear when Decompress File attribute is selected) need to be specified.
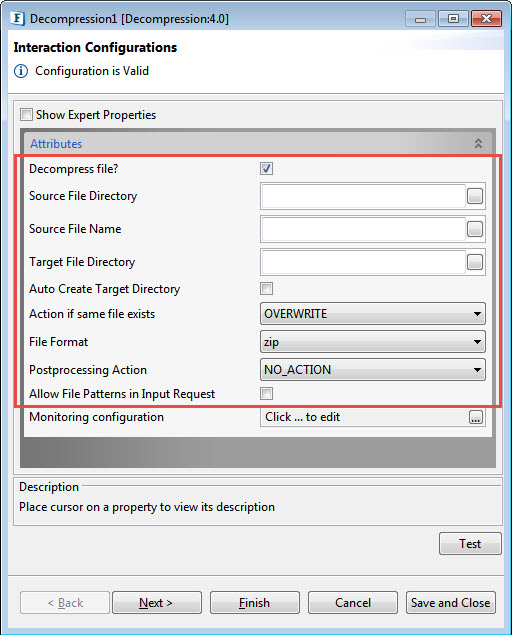
Figure 2: Attributes supporting Decompress file property
Source File Directory
The directory from where the microservice picks the files to be decompressed. Provide the absolute path here.
Source File Name
The name of the file that needs to be decompressed. Provide the full file name with extension .zip, for example, inputfile.zip
Target File Directory
The directory to which the microservice sends the compressed file/s. Provide the absolute path here.
Auto Create Target Directory
Set this property to create the target directory. If this is not set, the directory has to be created explicitly.
Action if same file exist
If the file with the same name exists in the target folder, choose the action to be taken from the below options:
- Overwrite: Overwrites the existing file and hence the old file gets replaced with the new one.
- Rename: Renames the file with "filename + MMddyyHHmmss + counter(optional)".

Figure 3: Options of Actions in case file name matches
File Format
Select the format in which files are compressed; available options are below:
- zip: Select if the files are compressed in .zip format.
- tar.gz: Select if the files are compressed in .tar.gz format.

Figure 4: Option to the format in which the files are compressed
Postprocessing Action
Action to be taken on the file after it is decompressed successfully. The figure below shows the postprocessing actions that are allowed.
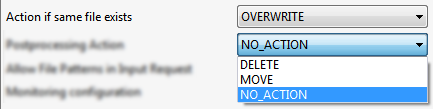
Figure 5: Postprocessing Actions
- DELETE
Deletes the source file after decompressing it successfully. - MOVE
Moves the file to a different location (specified by the property Postprocessing Directory property which appears when the MOVE option is selected).
When 'MOVE' is selected as the Postprocessing Action, two other properties become visible—"Postprocessing Directory" and "Append timestamp ?".
Figure 6: MOVE action - NO_ACTION
Takes no action on the file.
Postprocessing Directory
The directory to which files are to be moved after they are decompressed successfully when 'MOVE' is selected as the Postprocessing Action.
The directory can be specified in the text field or clicking the ellipsis  button to provide details in the dialog box that pops up.
Append timestamp?
Specifies if a timestamp has to be appended to the file names after they have been moved to the Postprocessing Directory.
- If enabled, the microservice adds a time stamp. The format for the timestamp is provided through the Timestamp format property and a counter (if Append counter? is enabled).
- If disabled, no timestamp is added to the files that are moved to the Postprocessing directory.
When Append timestamp option is enabled, two more supporting options appear: "Timestamp format" and "Append Counter ?".
Timestamp format
The format of the time stamp to be appended to the file name can be specified here. The descriptions of the symbols that can be used in the timestamp formats are shown below.

Figure 7: Symbols used in Timestamp format
Example: ddMMyyyy_HHmm.
Append counter?
- If selected, a counter is appended to the file name of each processed file in addition to the time stamp. Appending counter to file names ensures that no two files in the Postprocessing directory will have the same name. The name of the file would look like <filename><time stamp><counter>.
- If disabled, no counter is added to the files that have been moved to the Postprocessing directory.
Allow File Patterns in Input Request
Enabling this will allow File patterns in the input request. All the files in the Source Directory are checked against this pattern and are suitably processed.
Binary Output Required
Enable this to have the decompressed message as binary instead of text.
Monitoring Configuration
Please refer to the Monitoring Configuration section in Common Configurations page.
Expert Properties
Enable the Expert Properties view to configure these properties.
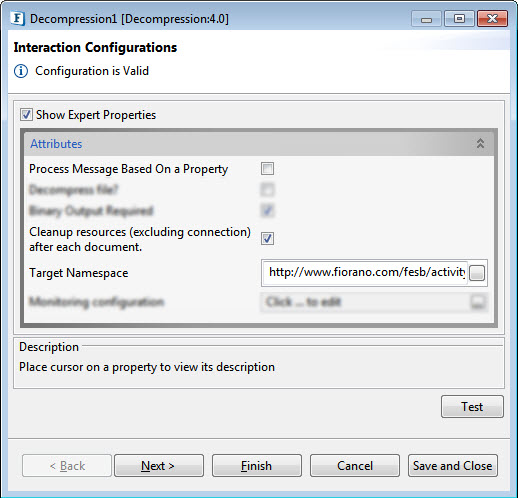
Figure 8: Decompression CPS with the Expert Properties enabled and highlighted
Process Message Based on Property
The property helps components to skip certain messages from processing.
Refer to the Process Message Based On a Property section under the Common Configurations page.
Cleanup resources (excluding connection) after each document
This closes all the resources except for the connection after every request. If the less processing time is more important than the less memory usage, then it is recommended to disable this property and vice versa.
For more details, refer to the respective section under in the Common Configurations page.
Target Namespace
Target Namespace for the request and response XML messages.
For more details, refer to the respective section under in the Common Configurations page.
Scheduler Configurations
Please refer the respective section in Common Configurations page.
Transport Configurations
Please refer the respective section in Common Configurations page.
Error Handling
Please refer the sections Request Processing Error and Invalid Request Error in the Error Handling section of Common Configurations page for details.
Testing
The configuration can be tested by clicking the Test button in the Interaction Configuration panel.
Sample Input
Message for the compressed file in the Compression component, as below, acts as the input for Decompression component.
![]()
Figure 9: Sample Input Message
Output
Output Message tab shows the response when Execute button clicked.
![]()
Figure 10: Response Generated
Functional Demonstration
Scenario 1
Decompress the incoming data.
Configure the Decompression adapter and use Feeder, Compression and Display components to create an event process. When we send the input from the Feeder as in the Sample Input below, the compression adapter compresses it and forwards it to the Decompression adapter which in turn decompresses the input and forwards the output to Display adapter.
Binary as well as Text outputs are generated (as shown in the figures below) corresponding to the configuration made in the CPS (enabling and disabling Binary Output Required property respectively) of Decompression adapter.
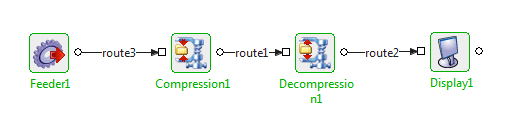
Figure 11: Sample event process
Sample Input
Provide Sample input as "Hello World" in the Feeder window and click Send.
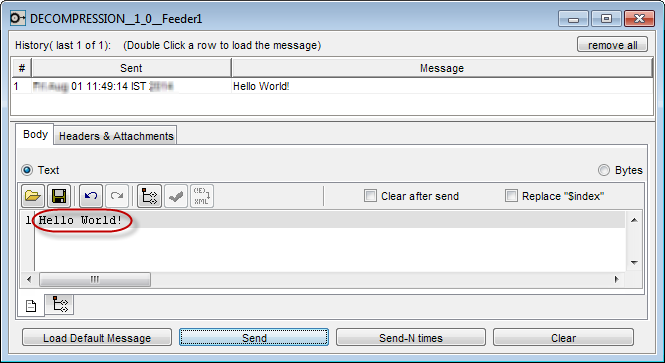
Figure 12: Sample Input in Feeder window
Binary Output
Below will be the output if Binary Output Required property is enabled.
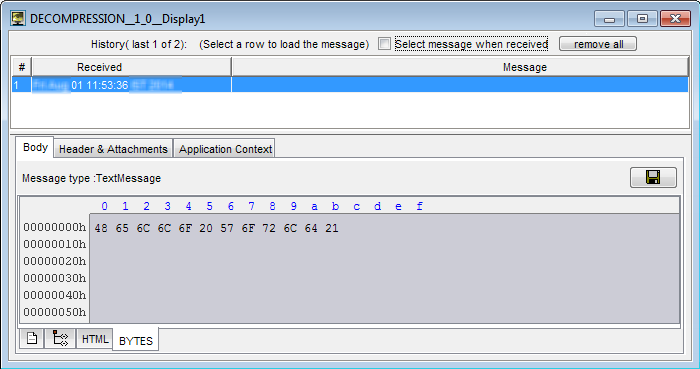
Figure 13: Output of Decompression adapter in binary format
Below will be the output if Binary Output Required property is disabled.
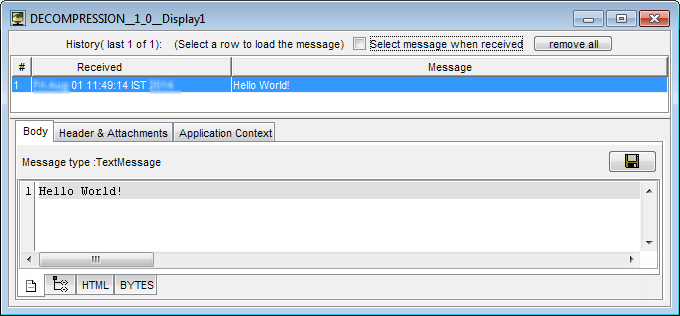
Figure 14: Output of Decompression adapter in text format
Useful Tip
- If compressed zip file contains more than one file, then the output of decompression will have multiple output messages each containing file name and file path.
- When component configuration sends multiple messages, the following JMS properties in the messages help to identify the first and last messages:
- First document - START_EVENT=true
- All documents - RECORD_INDEX=<index of output message>
- Last document - CLOSE_EVENT=true