Adding new Enterprise servers enable to maintain separate servers for different environments such as Development, Testing and Production.
Adding a new Enterprise Server
To add a new server, perform the following actions in Server Explorer view:
Click Add Enterprise Server icon
 present in the Server Explorer menu bar; Enterprise Server Name dialog box appears.
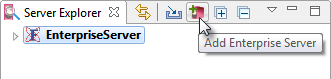
- In the Enterprise Server Name dialog box, replace the default name 'EnterpriseServer_1' to a logical name (Eg: TestingServer) that represents the purpose of the new server. Click OK.

Wait for a few seconds for the new server to appear in the Server Explorer panel.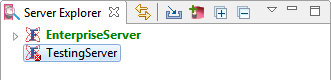
Configuring the newly added Enterprise Server
To configure the newly added server, perform the following actions:
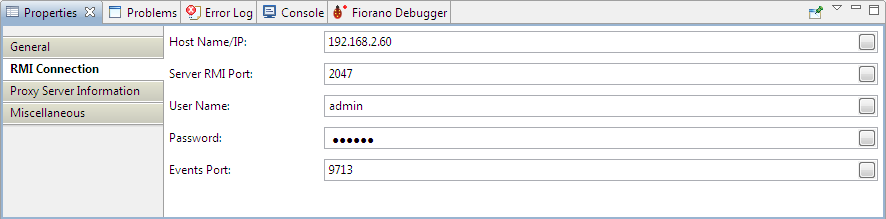
- Click the newly added server and go to RMI Connection tab in the Properties panel.
Provide the host name or IP address of the new server and its password (default is 'passwd'). Now the red cross gets disappeared and Login/Logout options in the right-click menu of the node gets active.
- Right-click the node and click Login.
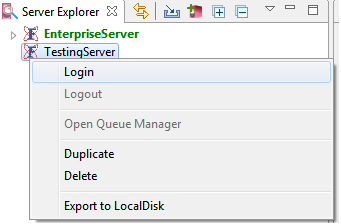
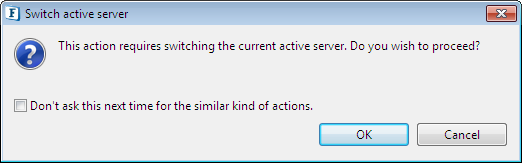
- In case a server is presently running, Switch Active Server dialog box pops up prompting to switch server; Click OK.
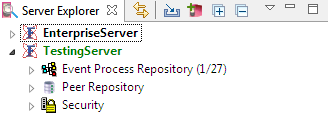
- The new server font colour turns green and the sub nodes appear on expanding the new server node.
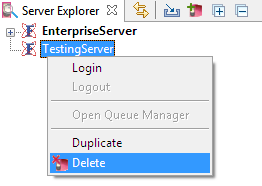
Deleting a Server
To remove a server from Server Explorer, log out from the server, right-click the node and select Delete.
Overview
Content Tools
ThemeBuilder