This section illustrates how to use HTTPAdapters to access a secure HTTP connection. For this, use the keystore and the trustore created by following SSL Configuration – Client perspective section.
The section demostrates how HTTPAdapters component can be configured for HTTP Get operation to access a secured HTTP connection.
Perform the following actions:
- Start the Studio. Next, drag and drop the HTTPAdapters component from the Service Pallete.
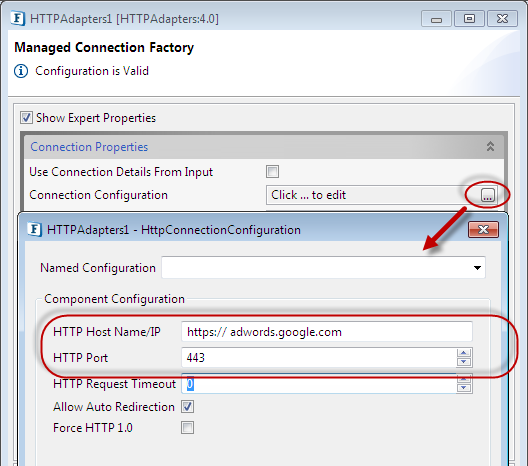
- Double-click the HTTPAdapters component to open Configuration Properties Sheet (CPS).
- Enter the value for the host field, for example, https:// adwords.google.com
- Enter the port number. Https hosts by default use a port number of 443. If the host uses a different port number then it has to be provided.
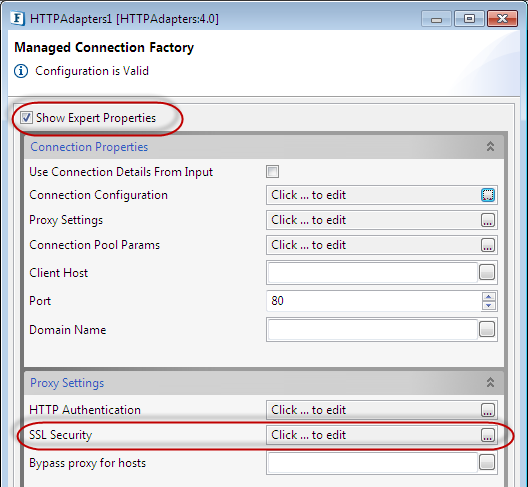
- Provide SSL Security configurations in the CPS. By default the property SSL Security is not visible. Enable 'expert properties' to make all properties visible.
- Open SSL Security by clicking on the ellipsis and select the Enable SSL check-box. The SSL related fields gets enabled. Provide the details for the following fields.
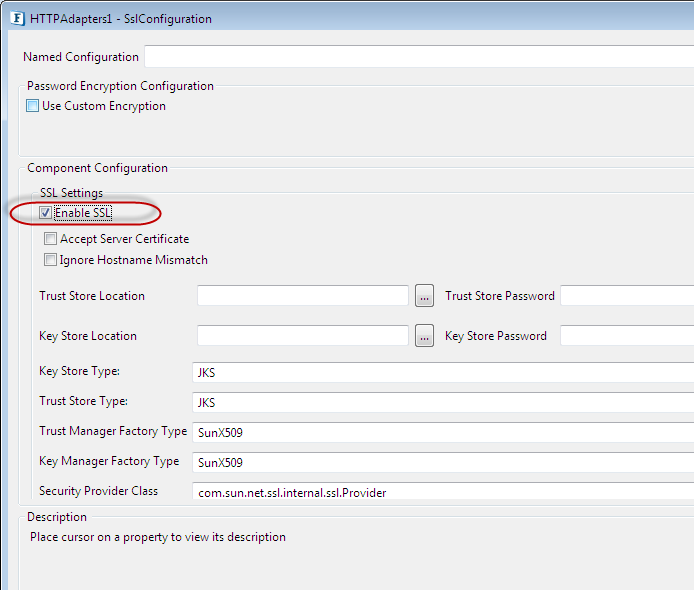
- Truststore Location - Location and filename of the truststore file. For providing the Truststore, select the truststore.keystore file in \workstudio\keystore that we created in the previous section.
- Truststore Password - Password of the specified truststore. Specify trustpass as the truststore password.
- Keystore Location - Location and filename of the keystore. Select the client1.keystore file in \workstudio\keystore directory.
- Keystore password - Password for the keystore. Specify cl1storepass as the store password.
Keystore Client Key - Password for the client key. Specify cl1keypass as the Keystore Client key.
- Accept the default values for the fields whose values are already provided.
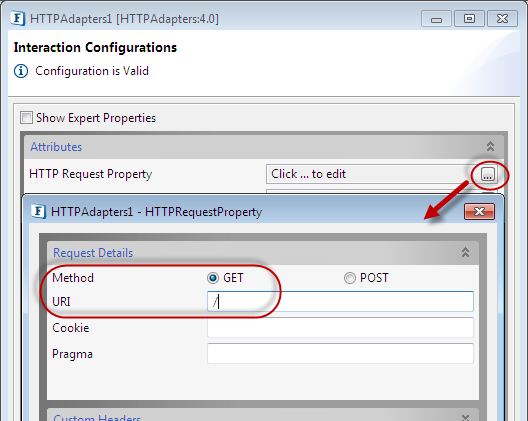
- Click Next, to move to Interaction Configurations panel and click the HTTP Request Property to open the parameters panel.
- Enter a / (slash) for the URI field.
- Finish the configuration by navigating through the remaining panels and accepting the default values for each panel.
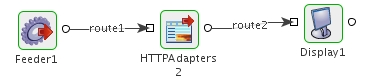
- Connect a feeder and display component with the HTTPAdapters component using routes.
- Double-click the feeder component to display its Configuration Property Sheet (CPS). The CPS is displayed. Now, click the Fetch from Connected Service icon.
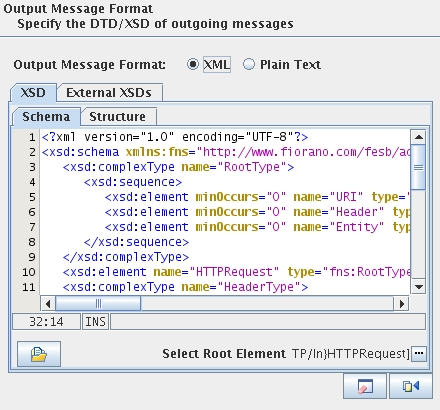
- Click the Next button to navigate to the Options panel. Click the Generate Sample XML button.
- Accept the default values and click the OK button. From the sample XML that is generated, delete all the XML tags and leave only the <HTTPRequest> opening and closing tags.
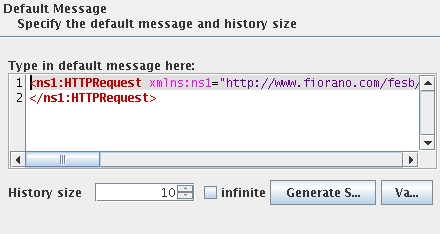
- Click the Finish button to finish the configuration of the feeder.
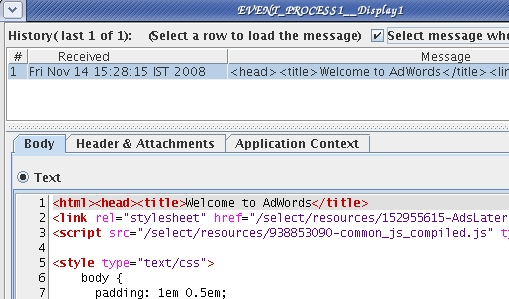
- Next, do the Component Resource Check and run the event process. Wait until the components turn green in the Event Process easel. When the event process successfully runs, the feeder window is displayed as shown in the figure below.
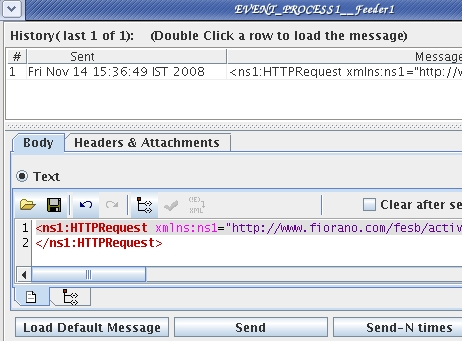
- Click the Send button to send the HTTP request from the feeder to the HTTPAdapters component. The result of the request is displayed in the display business component.
Overview
Content Tools
ThemeBuilder