- Select the service instance in the Fiorano eStudio Orchestrator editor.
- Open the Properties view and select the Deployment tab.
- Click the button against the Peer Server Node property.
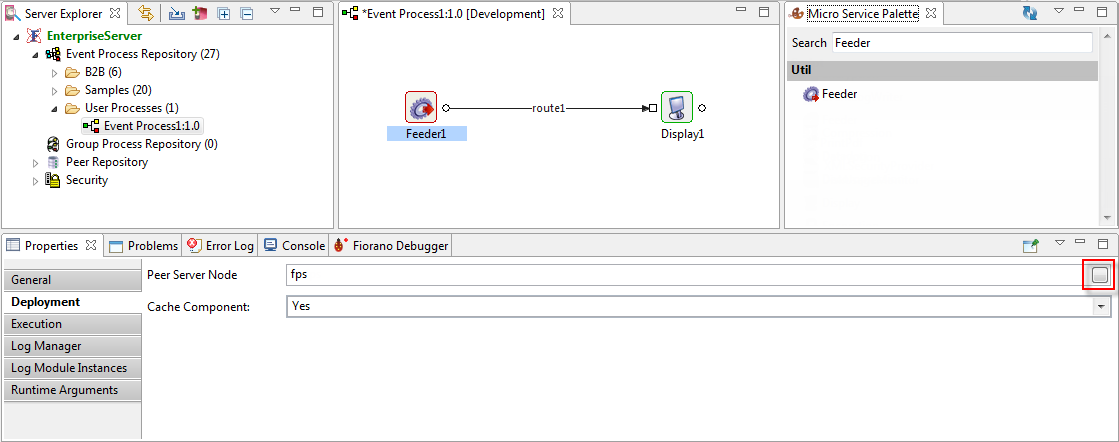
Figure 1: Nodes property for a component
In the Select peer server node dialog box that pops up, move the required server from the list of peer servers available on the network as mentioned below and click the OK button.
Select the existing peer server from the Selected Nodes section to the Available Nodes section.
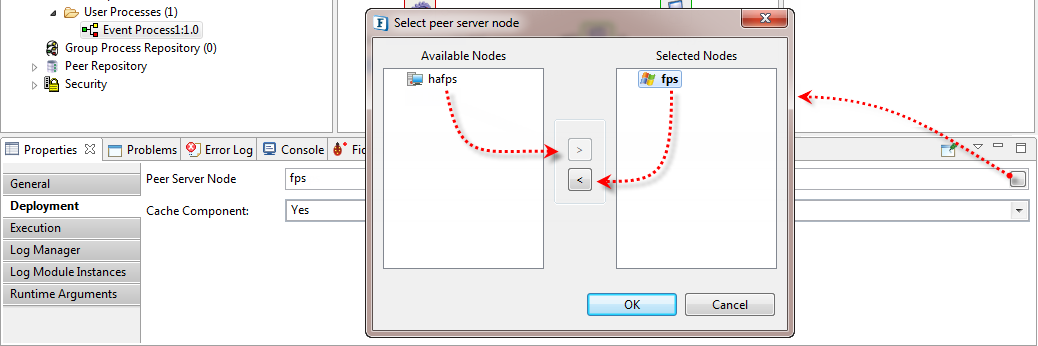
Figure 2: The Select peer server node dialog box with the currently selected Peer server and the available one which can be chosenMove the peer server on which the component need to be run from the Available Nodes section to the Selected Nodes section.
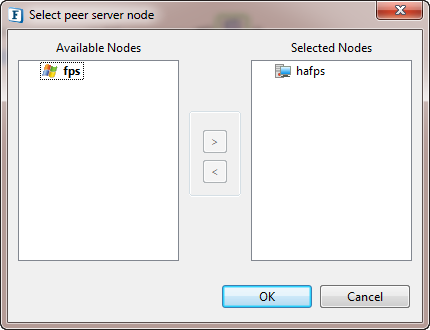
Figure 3: The Select peer server node dialog box after choosing the required peer server
The changed peer server name appears in the Peer Server Node property.
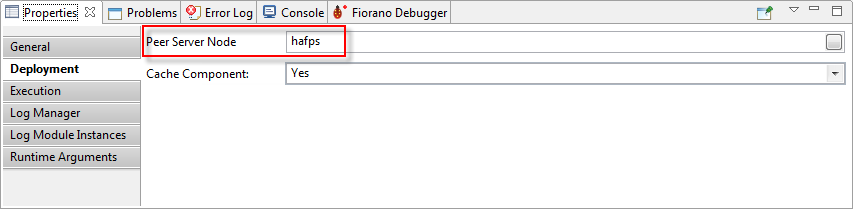
Figure 4: The chosen peer server appearing in the Peer Server Node property
To assign a specific server to a particular Service Instance (microservice), perform the actions below:
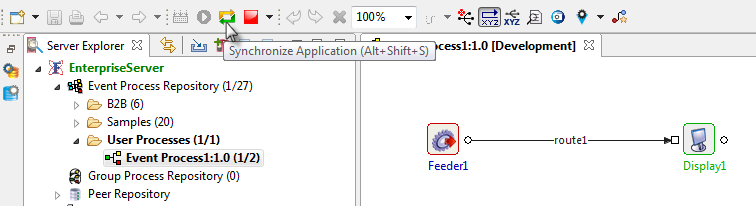
 icon can be used to synchronize.
Overview
Content Tools
ThemeBuilder