The EDI2XML component is used for transforming information from EDI format to XML format. This business component accepts data in EDI format and transforms it to the required XML format.
Configuration and Testing
Managed Connection Factory
The EDI2XML component can be configured using its Configuration Property Sheet (CPS). Following is the Interaction Properties panel.
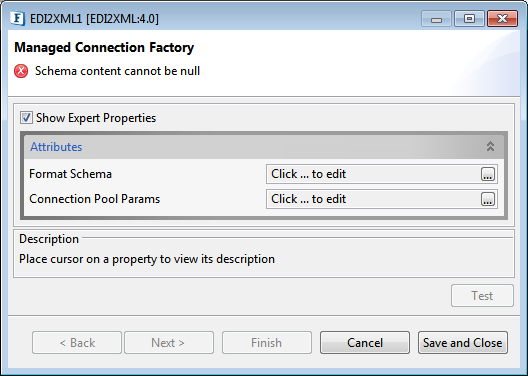
Figure 1: Managed Connection Factory panel in the EDI2XML CPS
Attributes
Format Schema
Click the ellipses  button and provide the EDI format schema to be used in the editor.
Connection Pool Params
Please refer the respective section in the Common Configurations page.
Interaction Configuration
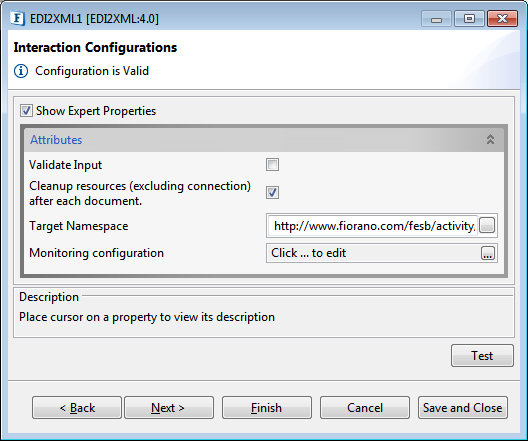
Figure 2: Interaction Configurations panel
Configuration can be tested from within the CPS by clicking the Test button in the Interaction Configuration panel in the CPS.
Attributes
For the four attributes given below (first three are Expert Properties), please refer Interaction Configurations section in Common Configurations page for description.
- Validate Input
- Cleanup Resources (excluding connection) after each input document
- TargetNamespace
- Monitoring Configuration
Testing
Sample Schema
Provide the following sample EDI format schema in the Format Schema editor in the Managed Connection Factory, move to Interaction Configurations panel, and click the Test button:
Figure 3: Sample EDI format schema to be used
Input Message
Type "ABC~" (~ is the delimiter as you can see in the Sample Schema) in the Input Message editor and click Execute to generate output.
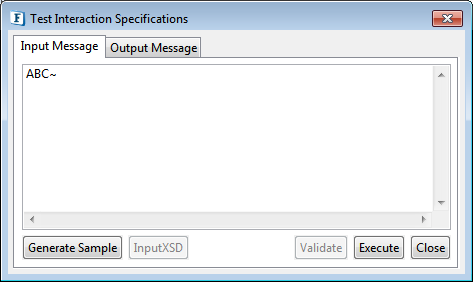
Figure 4: Sample EDI2XML input message
Output Message
Output Message section displays the result as below.
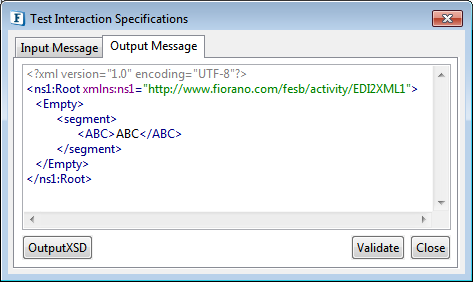
Figure 5: EDI2XML output message
Functional Demonstration
Scenario 1
Send a message in EDI format as defined in the Testing section above and display the output XML message.
Configure the EDI2XML component as described in the Testing section above; use Feeder and Display component to send sample input and check the response respectively.
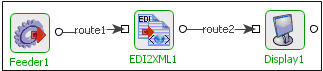
Figure 6: Demonstrating Scenario 1 with sample input and output
Sample Input
After running the event process, type text "ABC" in the Feeder window and click the Send button.
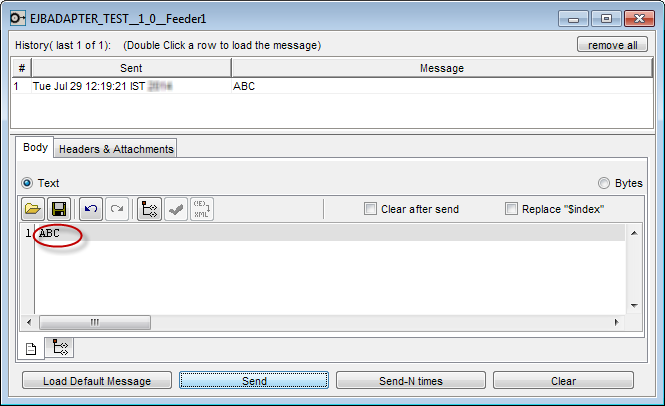
Figure 7: Providing input text "ABC" in the Feeder
Output
Check the result generated in the Display window.
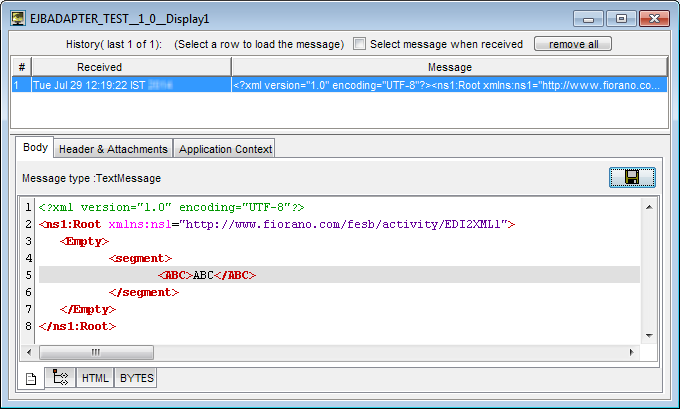
Figure 8: Result generated in the Display window