Active Server Node
In Online Event Process Development perspective, you can add as many Enterprise Servers and Log into them and create, deploy, and run Event Processes on them. Active Enterprise Server in context of eStudio means that states of Event Processes and other repositories will be shown corresponding to this particular server. Only one server is shown as an active server at any point of time but you can still work on all other servers by switching the active server. An active server switch can be made explicitly by selecting Activate option from the Enterprise Server node context menu or an inactive server will be automatically made active whenever you want to perform any action (Open Event Process, delete Event Process, CRC, Launch, Import, Export, and so on) on the inactive Enterprise Server.
The active server is displayed in Green color and the inactive servers are displayed in the default black color.
For instance, in the figure below the server EnterpriseServer_1 is Active and EnterpriseServer is inactive. All other views will be in accordance to the active Enterprise Server (that is, EnterpriseServer_1). For example, Micro Service Repository and Micro Service Palette will show the services present in EnterpriseServer_1.
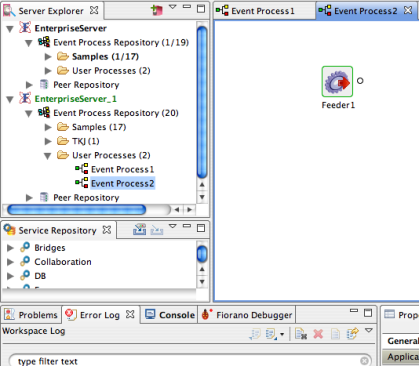
Figure 1: Multiple Enterprise Server login
If you try to perform any action on inactive server, a confirmation dialog appears stating the active server will be switched (you may set a preference to avoid the dialog appearing every time). When the switch happens, all the editors belonging to EnterpriseServer_1 are closed and editors corresponding to Enterprise Server are restored.
Switching of Active Server
With multiple servers alive there can be application deployed on different Enterprise Servers. But only event processes deployed on the Active Enterprise Server will be displayed.
On changing the Active Enterprise Server, editors for all the event processes deployed on to the previous Active Enterprise Server will be closed and these editors will be restored when that server becomes active (when you select any node in that server).
The following steps describe the active server switch:
- Login into the two servers. The Micro Service Palette and Micro Service Repository shows the services present in the server to which you have logged in recently (Enterprise Server_1 in this case). Create some event processes in Enterprise Server_1, and keep the created event process editors open.
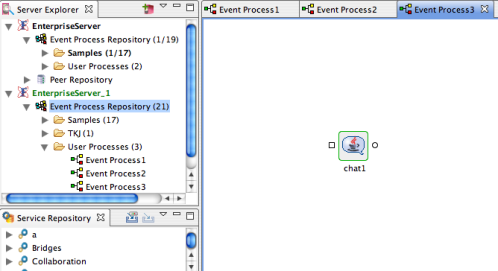
Figure 2: Active Enterprise Server - Now try to perform any action, say Open an Event Process on the inactive server (that is EnterpriseServer in this scenario). A confirmation dialog box is shown saying that the action requires the active server switch.
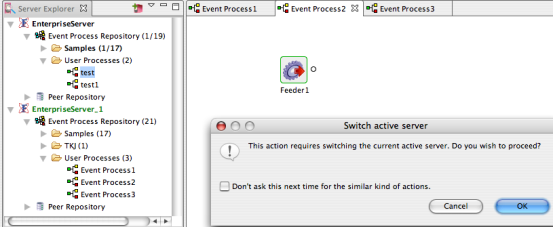
Figure 3: Switch Active Server
- Clicking the OK button, the editors related to Enterprise Server_1 will be closed and the editors corresponding to Enterprise Server will be opened. Also the Service Palette and Micro Service Repository show the services present in the Enterprise Server. The Active server can be identified by the color green.
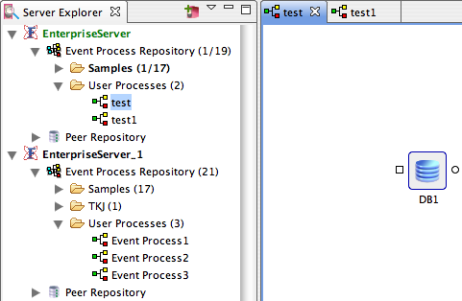
Figure 4: Event Processes present in Enterprise Server
To switch back to Enterprise Server_1, perform any action on the Enterprise Server_1 node or right-click and select the Activate option. All the editors which are opened previously are restored and the editors corresponding to previously active server are closed.
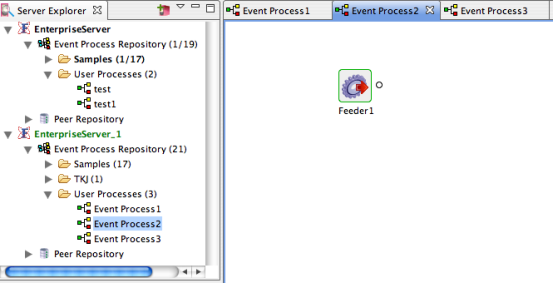
Figure 5: Services restored in Enterprise Server_1
During the active server switch, if you try to switch from a server containing any unsaved editors, a dialog box containing the unsaved editors will be prompted where you can select the editors to be saved.
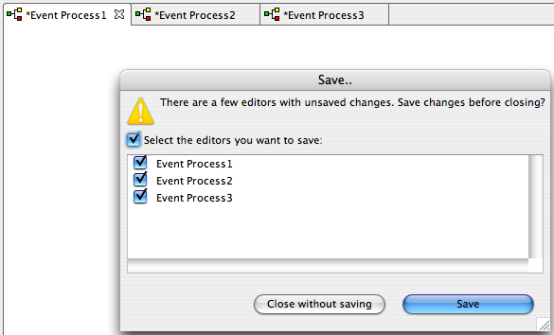
Figure 6: Unsaved editors dialog
Switching Between Perspectives
eStudio has three perspectives; Offline Event Process development, Online Event Process development and Mapper
To change the perspective, perform the following steps:
- Click the Open Perspective option from Window > Open Perspective > Other or from the shortcut bar on the left-hand side of the Workbench window.
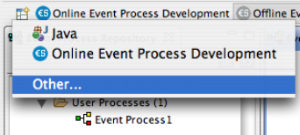
Figure 7: Selecting the Other.. option from perspective button
- Select the Online Event Process Development to open the online perspective.
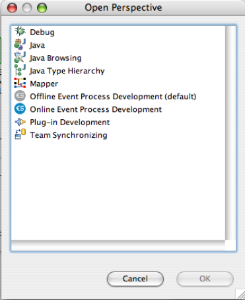
Figure 8: Selecting Online Application Development perspective
- The Online perspective shows all the views and editors customized for the online application development as shown in the figure below. During online application development, application development takes place after logging in to the server.
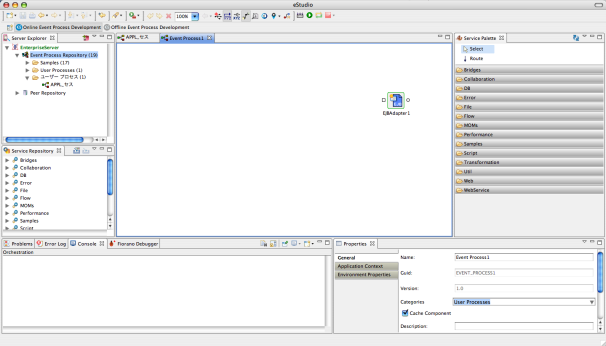
Figure 9: Online Application Development Perspective
Now, switch to Offline perspective by clicking the Open Perspective button on the shortcut bar on the right-hand side of the Workbench window, select Other... from the drop-down menu. Select the Offline Event Process Development to open the Offline perspective.
The Offline perspective shows all the views and editors required for the offline application development as shown in the figure below. During offline application development, there will not be any interaction with the server.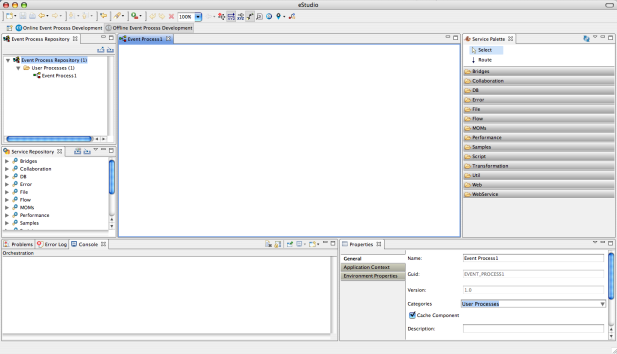
Figure 10: Offline Application Development Perspective