Policies are requirements/checks that need to be added to a target URL for pre-processing or post-processing. To add a policy in a project, the following actions need to be performed on the API Projects page, where the projects are listed.
- Click the
 icon to open the project to which the policy is to be added.
 - Click the Policies
 tab on the left side and click the Add
  icon on the upper-right side of the Policies screen to add a new policy.
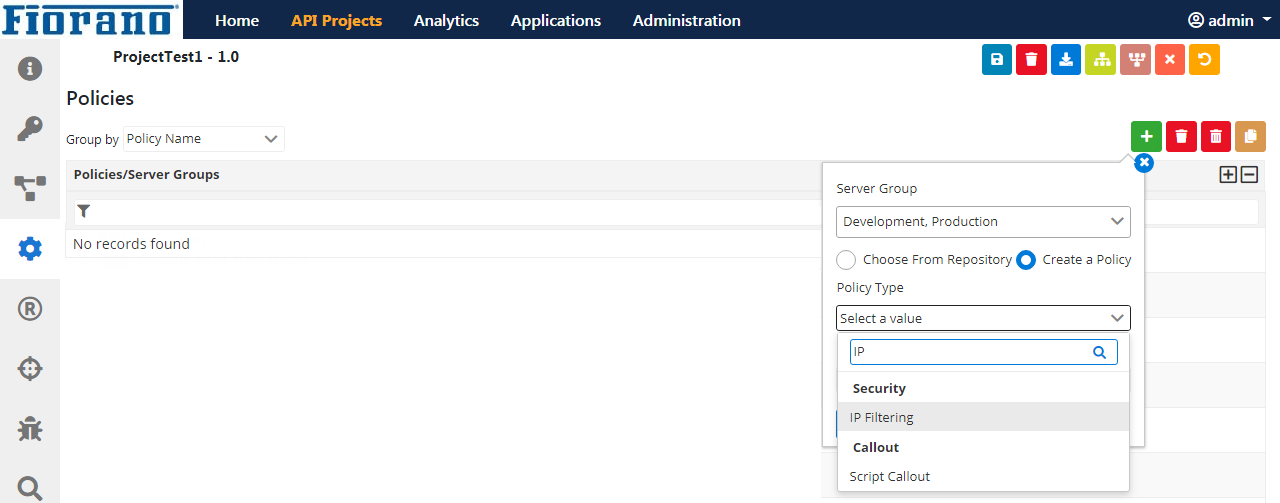
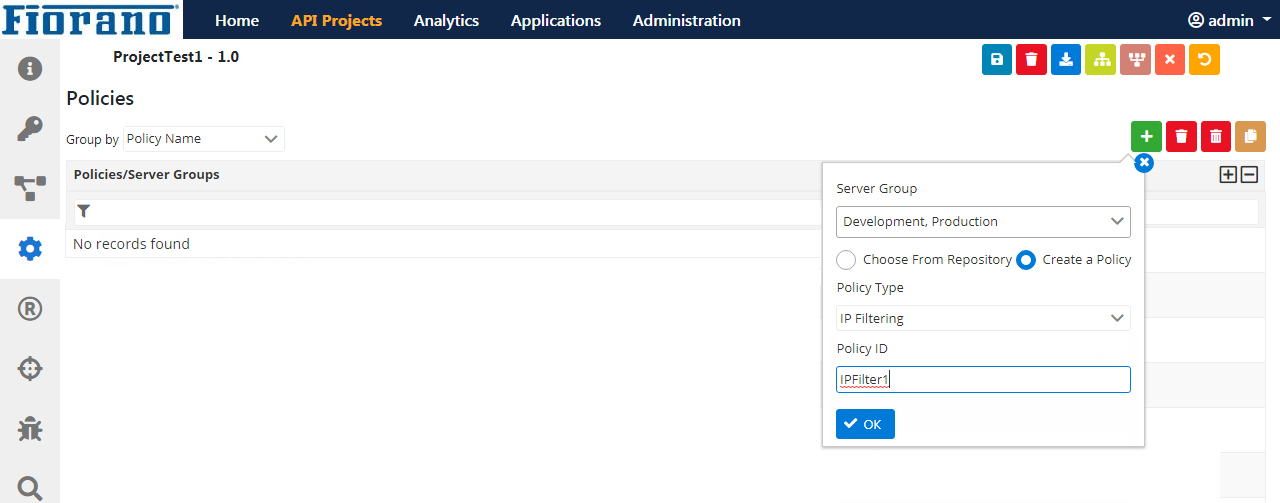
 In the dialog box, select Create a Policy option, select the type of policy to be added from Policy Type drop-down and provide a Policy ID to represent the policy.
Click the Save
 icon present on the top of the page to apply the changes to the project.
Example
- Browse through Security > IP Filtering from the Policy Type drop-down or just type keywords to filter the policy type by name.
- Provide a Policy ID to navigate and click OK to navigate to the Policy Configuration page.
- In the Policy Configuration page, configure the policy as per the required scenario.
For example, to allow the IP addresses of the pattern 192.168.2.* and deny IP addresses of the pattern 192.168.3.*, provide these values in the Allowed IP with Mask/Range and Denied IP with Mask/Range fields respectively and select Allow/Deny in No Match Rule text box as per the requirement to allow/deny IP addresses which do not fall into any of the values set.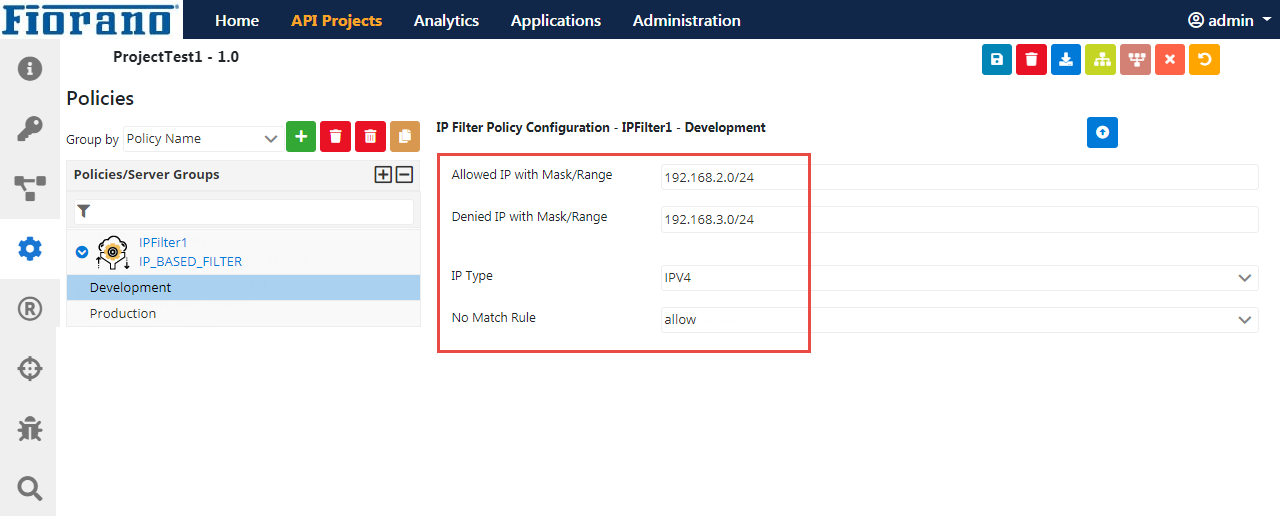
Overview
Content Tools
ThemeBuilder