Applications and Products modules in the Fiorano Development Portal provide an interface for developers to register their applications and add different products required respectively. However, these interactions are possible only after logging on to the portal. Go through the below sections to understand how to create a user and work with applications and products thereafter.
Launching Developer Portal
To register to Fiorano Developer Portal, use the following URL:
Creating a Developer User
In the registration portal, provide an email id and a password, and click the Register button to sign up or register a new user.
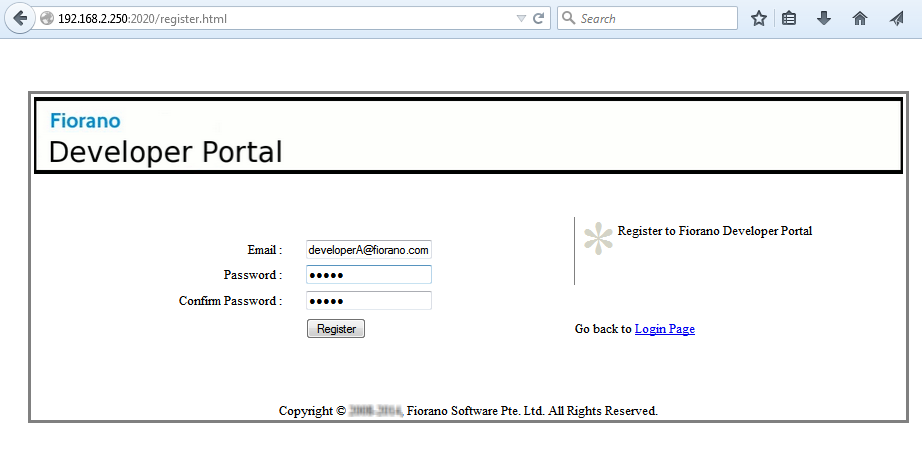
Figure 1: Developer user Sign Up or Registration page
A confirmation message appears confirming successful registration.
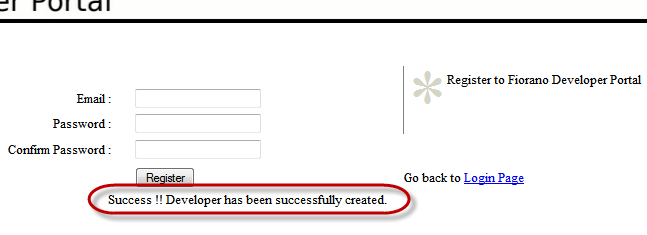
Figure 2: Confirmation message appearing confirming registration
Logging in
To open the Log in page, do one of the following:
- Click the Login Page link in the Registration page (see the figure above)
- Open the URL <ipaddress>:<2020>
To log in and go to the Home Page of Fiorano Developer Portal, provide the credentials as created earlier and click the Login button in the Login page.
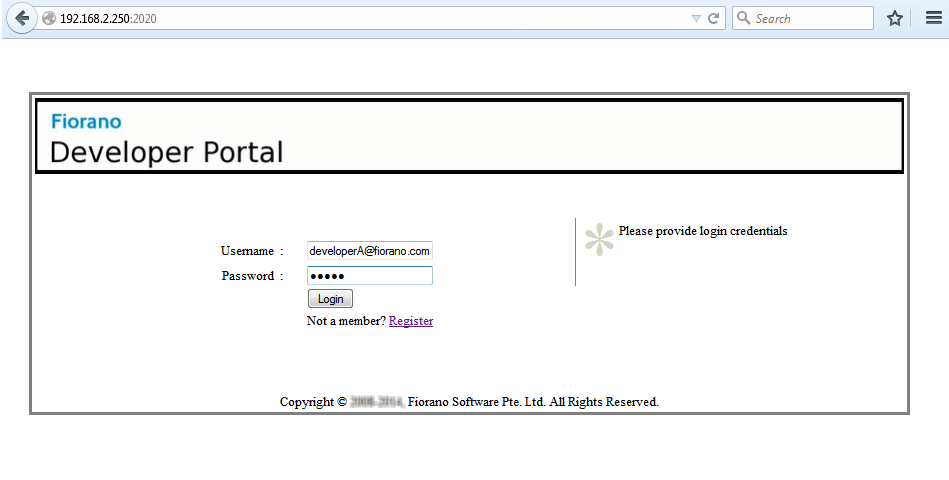
Figure 3: Providing credentials in the Login Page
Applications and Products modules can be seen in the Home Page. The User id (email) by which the developer logs-in appears at the upper-right part of the screen saying 'Logged in as'.

Figure 4: Developer Portal Home Page
Editing User Settings
To provide additional details for the user or to change password, click the User id (developerA@fiorano.com in the image). The attributes First Name, Last Name, Website URL that can be provided in this page are optional. Email ID can be changed to a preferred one, while the Developer ID remains the same as created. After changing the details, click the Save button to apply the changes.
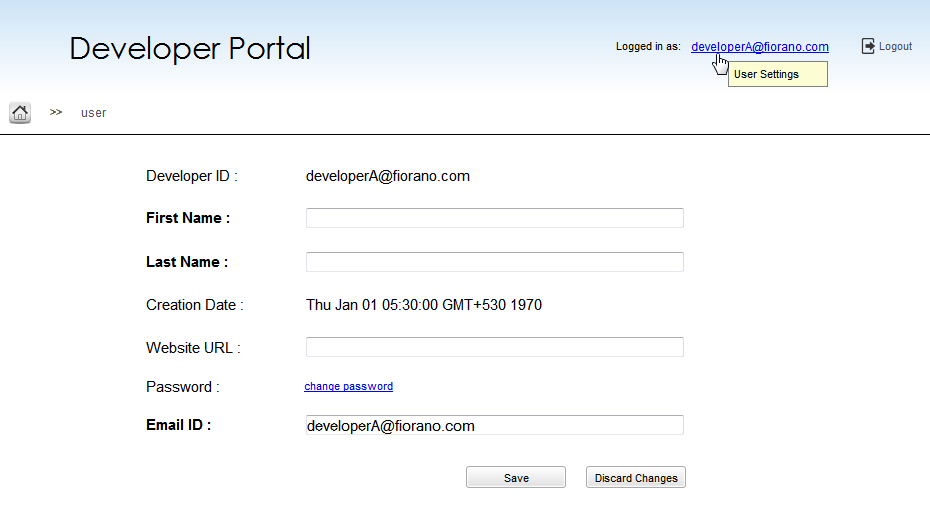
Figure 5: User Settings section to edit details of the Developer user
To change password, click the change password link against the Password property. Provide the old and new passwords and click the Save button to apply the changes.
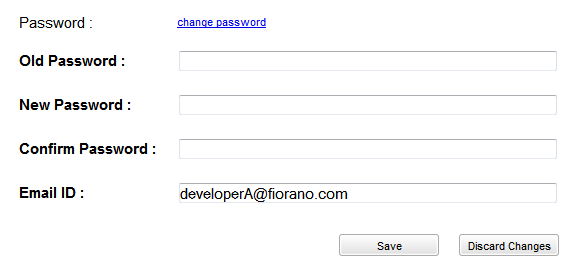
Figure 6: Prompts to change password