...
- Click Check Resource and Connectivity
 icon (or press ALT+SHIFT+C) to check resource and connectivity.
 - Click Run Event Process
 icon (ALT+SHIFT+R) to run the event process. Feeder1 and Display1 windows get opened.
 - Add a breakpoint on the route connecting 'Feeder1' and 'DB_Select' by right-clicking the route and selecting Add Breakpoint under Interceptor .
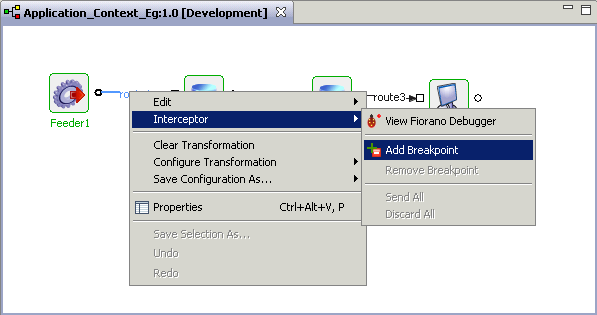
Figure 23: Adding breakpoint - In the Feeder window, provide the values for 'EmpId', 'EmpName' and 'DeptId' and click Send.
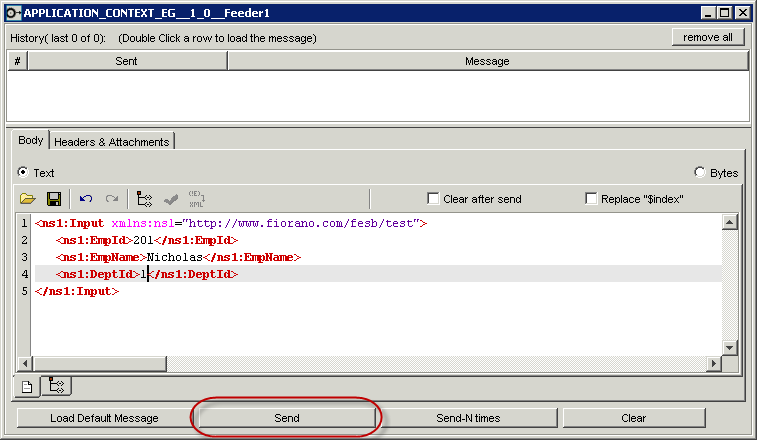
Figure 24: Sending input from Feeder - This message will be stored on the route connecting 'Feeder1' and 'DB_Select'. Click
- Right-click the route
- and select the View Fiorano Debugger option from Interceptor right-click menu option.
- In the Fiorano Debugger, select the route name that appears in the Breakpoints section.
- Click the Application Context tab which displays the Application Context that has been set and available throughout the event process.
- Click Send
 button. DB_Select executes Select query on DeptDetails table based on 'Dept_Id' sent from Feeder component and fetches 'Dept_Name' and 'Dept_Manager' values. Using 'Emp_Id', 'Emp_Name' values from Application Context and 'Dept_Id', 'Dept_Name', 'Dept_Manager' values from DB_Select output, a new record is inserted into 'EmployeeDetails' table.
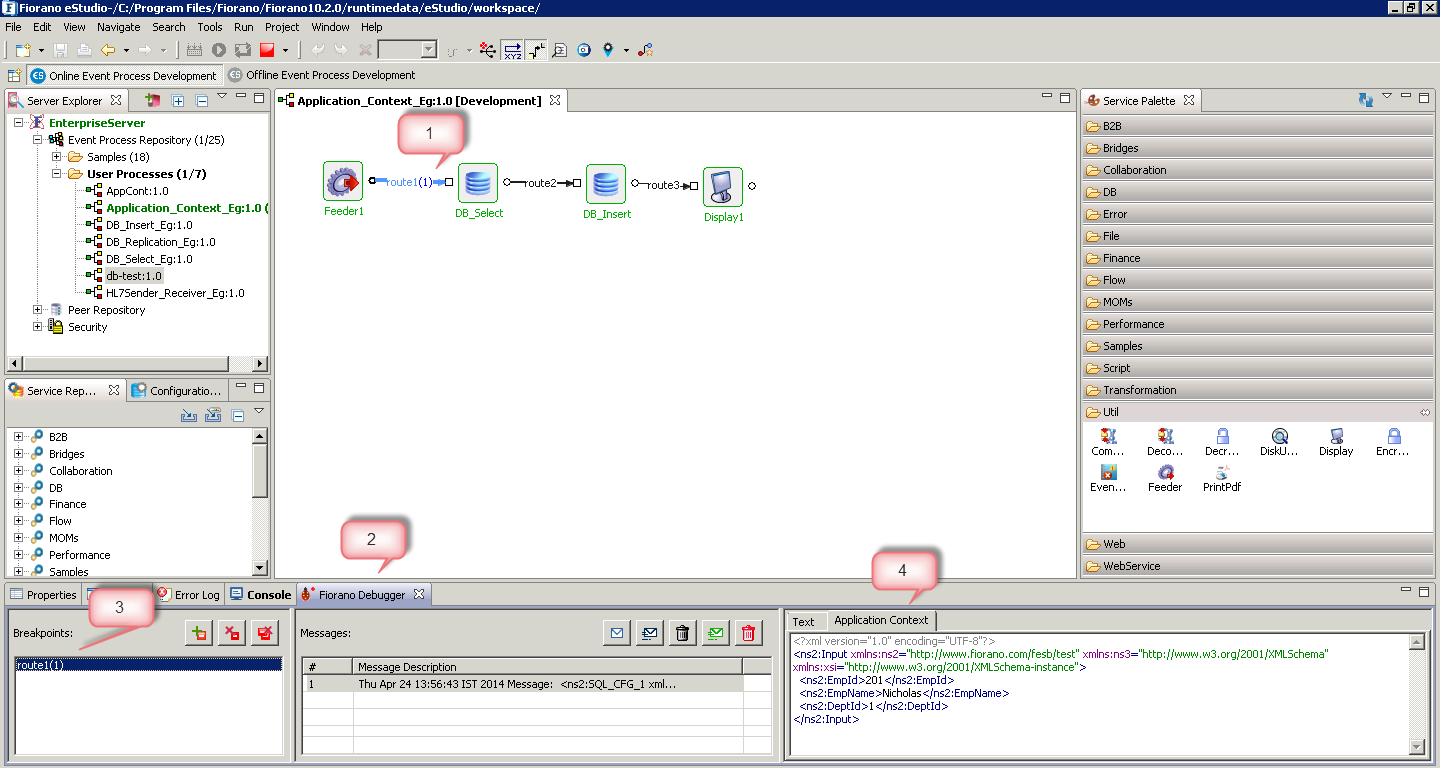

Figure 25: Viewing created Application Context
- In the Display window, UpdateCount value can be seen as '1' which indicates the successful insertion of data into the table.

Figure 26: Display component with Insert Query result
| Anchor | ||||
|---|---|---|---|---|
|
- Download Application_Context_Eg event process and import it to the Event Process Repository in the Server Explorer in eStudio to understand the configuration used in this example and to execute the working sample.
- Please note that the options used in this example are minimum, which helps you to get an overview of the application. To explore the other options present in the DB, Feeder and Display, refer sections: DB, Feeder and Display respectively.
Overview
Content Tools
ThemeBuilder