...
- Create an Event Process with two XMLSplitter components and configure these with Split and Group operations.
- Connect Feeder and Display components on both XMLSplitter components separately.
- Send message using each Feeder and component to demonstrate the difference in output using that appears in the Display components
| Anchor | ||||
|---|---|---|---|---|
|
...
- Add a new Event Process with name 'xmlSplitterXMLSplitter_Example'.
- Drag the XMLSplitter component from MOMs category in the Micro Service Palette to the Fiorano Orchestrator.
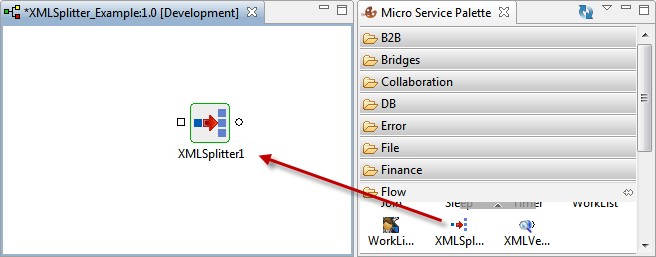
Figure 1: Adding XMLSplitter component to Fiorano Orchestrator
- Click the XMLSplitter component and do any of the following to rename the component from 'XMLSplitter' to 'XMLSplitter_Split':
- Press F2, change the name and click OK.
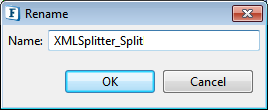
Figure 2: Renaming using Keyboard action 'F2'
- Go to Name property under General tab in Properties, change the name and press ENTER.

Figure 3: Renaming using General Properties
Note Change in name is to distinguish it from the XMPLSplitter component that will be configured for Group operation.
- Press F2, change the name and click OK.
Double-click the XMLSplitter_Split component in the Orchestrator to open Configuration Property Sheet (CPS).
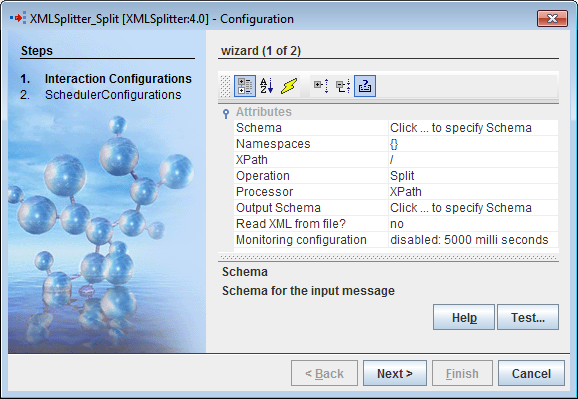
Figure 4: XMLSplitter CPS
- In the Interaction Configurations section, select Schema option under Attributes and perform the following actions:
Click the Ellipsis
 button that appears on the Schema row in Configuration dialog box and paste a valid schema in the Schema editor. Then click the Ellipsis button present in the bottom-right part of the Schema panel to open Root Element dialog box.
Expand title Use this Schema for the present example. <?xml version="1.0" encoding="UTF-8"?><xsd:schema xmlns="http://www.fiorano.com/fesb/activity/Text2XML1"xmlns:xsd="http://www.w3.org/2001/XMLSchema" elementFormDefault="qualified"targetNamespace="http://www.fiorano.com/fesb/activity/Text2XML1"><xsd:element name="MovieSchema"><xsd:complexType><xsd:sequence><xsd:element minOccurs="0" maxOccurs="unbounded" name="client"><xsd:complexType><xsd:sequence><xsd:element name="customer_name" type="xsd:string"/><xsd:element name="movie_name" type="xsd:string"/><xsd:element name="show_timings" type="xsd:string"/><xsd:element name="clients_email_id" type="xsd:string"/></xsd:sequence></xsd:complexType></xsd:element></xsd:sequence></xsd:complexType></xsd:element></xsd:schema>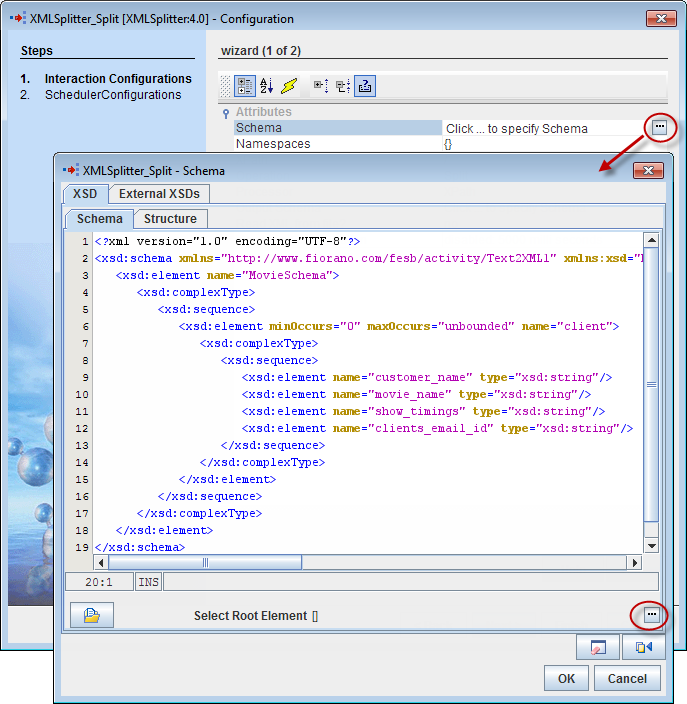
Figure 5: Navigating to Root element after pasting Schema
- In the Root Element dialog box, select 'MovieSchema' and click OK. The root element will appear within Select Root Element brackets present next to the Ellipsis button. Click OK in Schema editor.
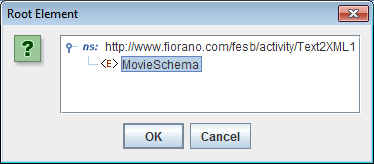
Figure 6: Selecting Root Element
- As Schema section lists all the namespace prefixes used by XML schema, leave Namespaces section without any changes.
- Click XPath Ellpsis button and perform the following actions in the XPath dialog box:
- Select and delete the default Schema present in the editor.
- Drag the client part under MovieSchema tree from the left panel to the editor and click OK.
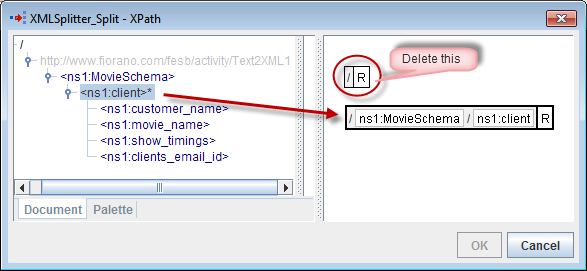
Figure 7: Selecting XPath for XMLSplitter_Split
- Retain the Operation value as 'Split' itself, click Next twice and then click Finish.
...
To run the example, perform the following actions in the Orchestrator:
- Click Check Resource and ConnectivityConnectivity
 icon (or press ALT+SHIFT+C) to check resource and connectivity.
 - Click Run Event ProcessProcess
 icon (ALT+SHIFT+R) to run the event process. Four windows: Feeder_Split, Display_Split, Feeder_Group and Display_Group get open.
 - In both Feeder_Split and Feeder_Group, rename customer_name on all three occurrences as explained below: the
- first and second names to 'customer_name_1'
- third to 'customer_name_3'.
Tip Two of the names have to be the same to test grouping; you may use your preferred names different from those used in this example.
- In Feeder_Split, click Send.
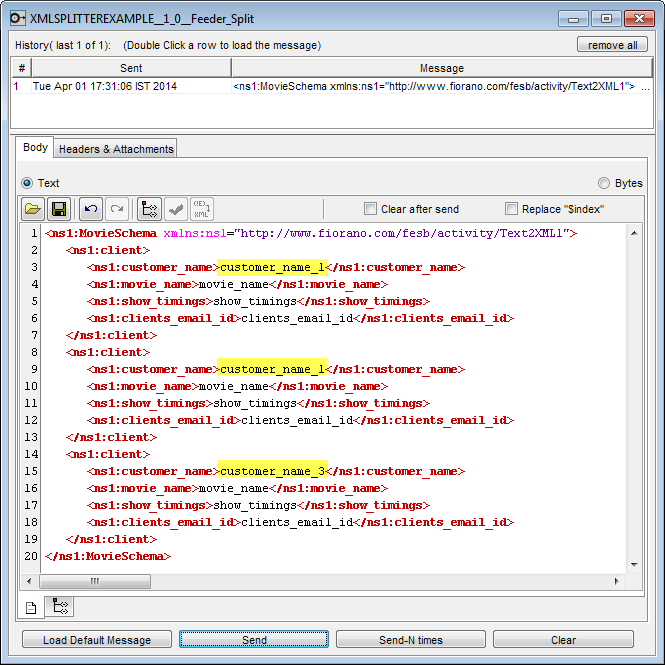
Figure 12: Changing customer_name in Feeder_Split and sending the message
- Three messages appear in Display_Split window.

Figure 13: Three messages appearing in Display_Split
- In Feeder_Group, click Send.
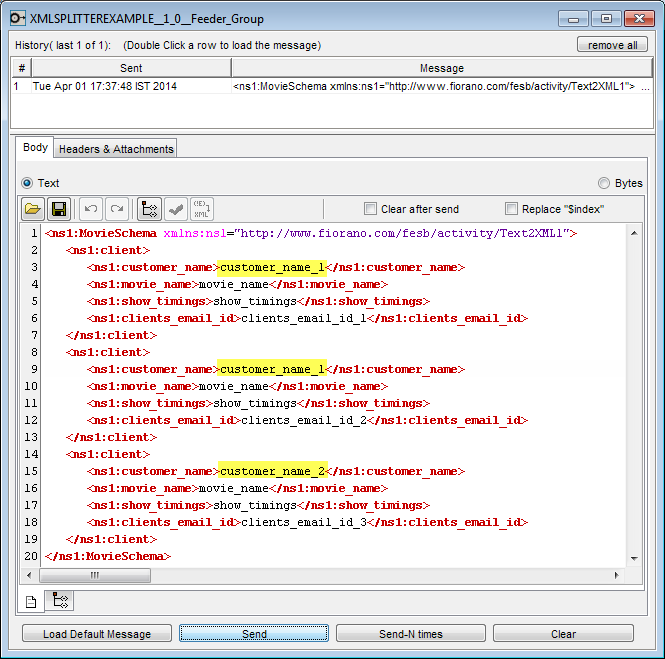
Figure 14: Changing customer_name in Feeder_Group and sending the message
- In Display_Group, only two messages appear, because the first and second client entries are grouped by the same customer_name, that is, the clients with "customer_name_1" as customer_name are grouped.
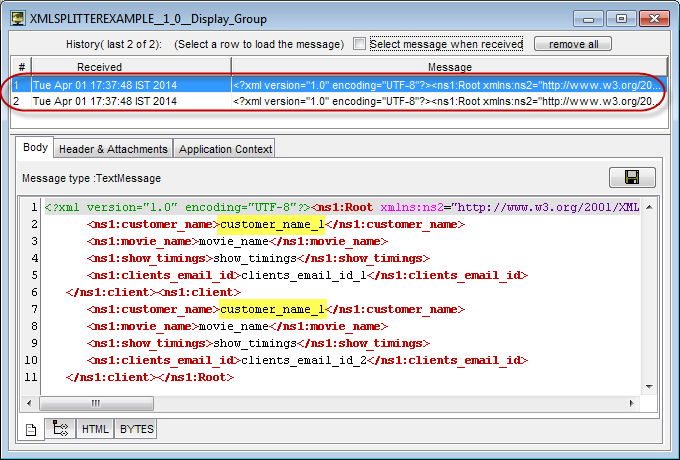
Figure 15: Data with same the same customer_name clubbed into one message
| Anchor | ||||
|---|---|---|---|---|
|
- Download XMLSplitter_Example event process and import it to the Event Process Repository in the Server Explorer in eStudio to understand the configuration used in this example and to execute the working sample.
- Please note that the options used in this example are minimum, which helps you to get an overview of the application. To explore the other options present in the XMLSplitter, Feeder and Display, refer sections: XMLSplitter, Feeder and Display respectively.