...
- In Studio open ProfileManager and open the FioranoMQ profile. Right-click Fiorano and select New Domain as shown below.
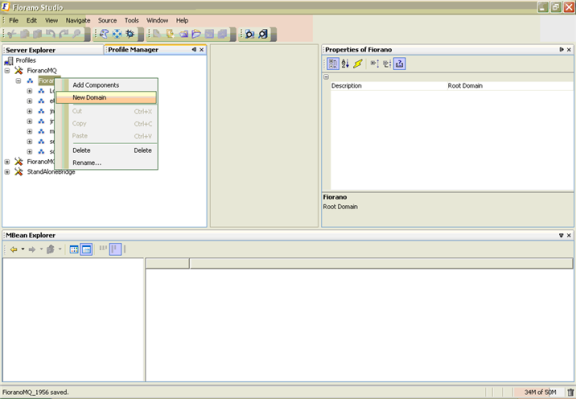
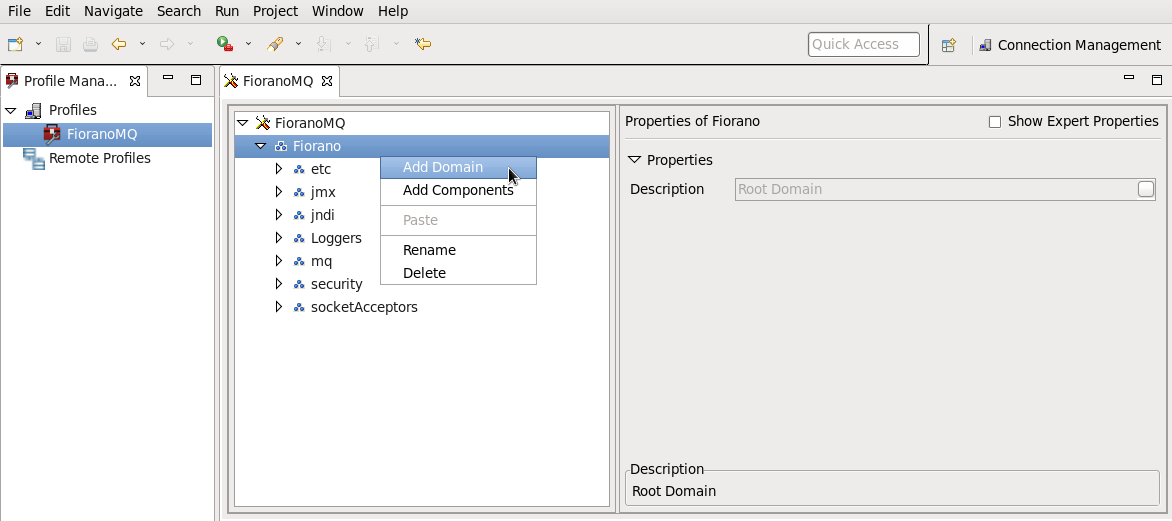
- Name the Domain as Bridge, for User convenience.
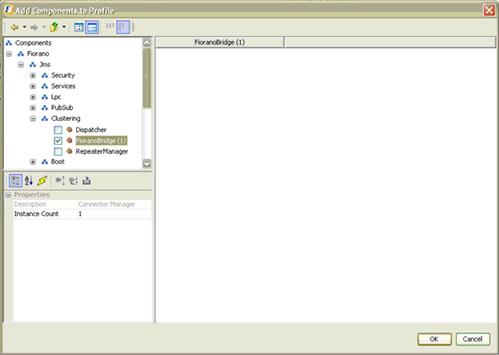
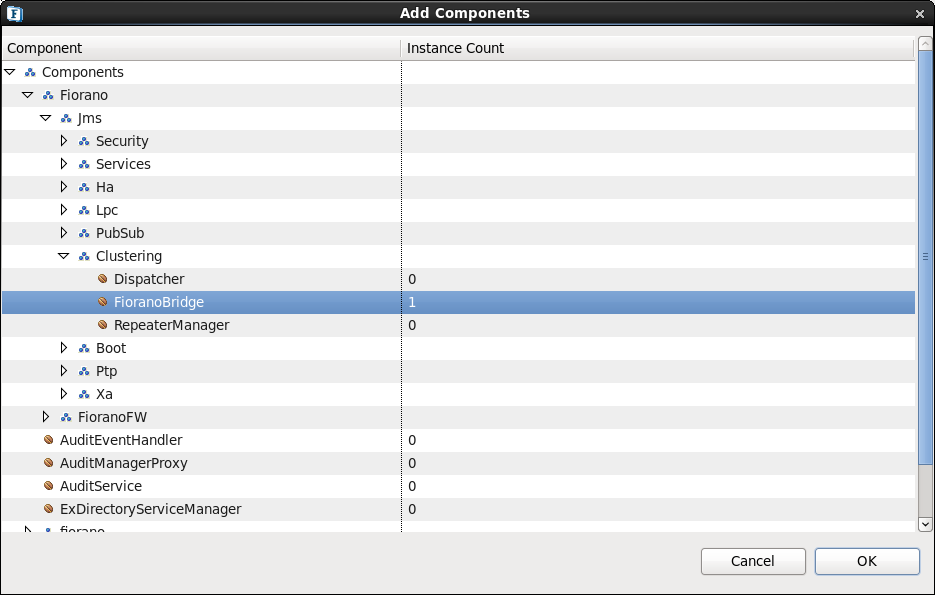
- Right-click on Bridge (new domain that was added in the previous step) and click on Add Components. Go to Fiorano?Jms?Clustering and select FioranoBridge. Click ok. The FioranoConnectorManager is added to the Bridge.
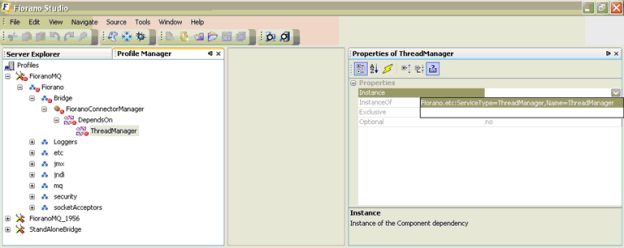
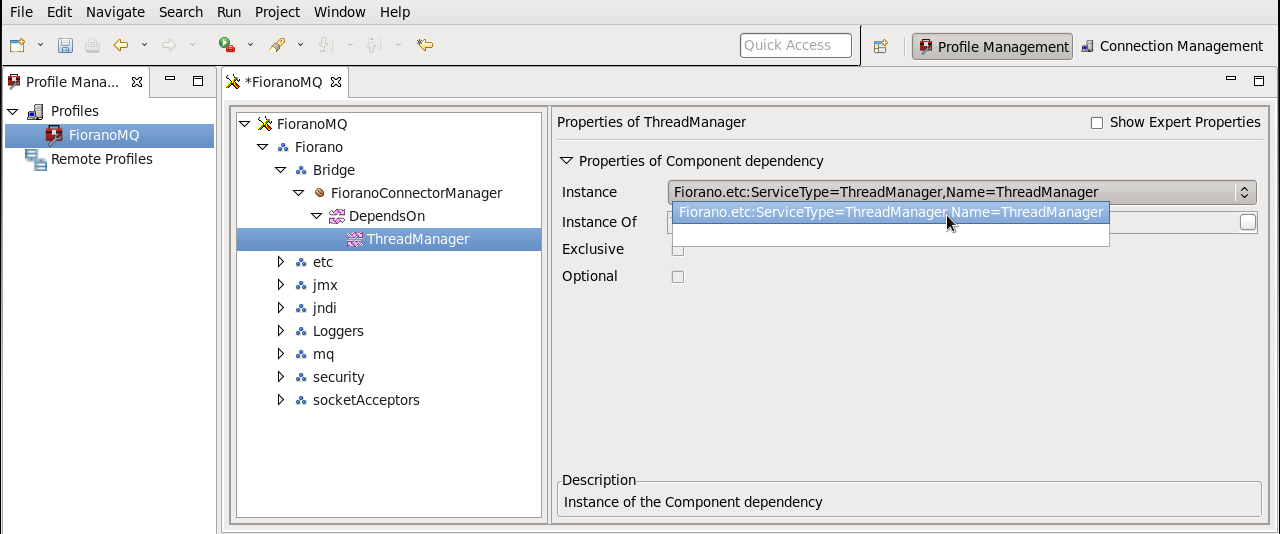
- Navigate to *FioranoConnectorManager?DependsOn?ThreadManager. By clicking on the *ThreadManager, the user can see properties on the right-hand side of studio. By default, instance property will be null. Select the only instance present there. Name the FioranoConnectorManager in properties.
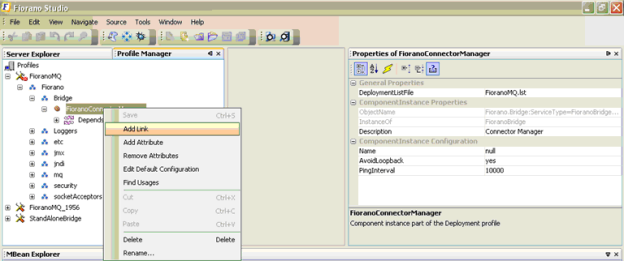
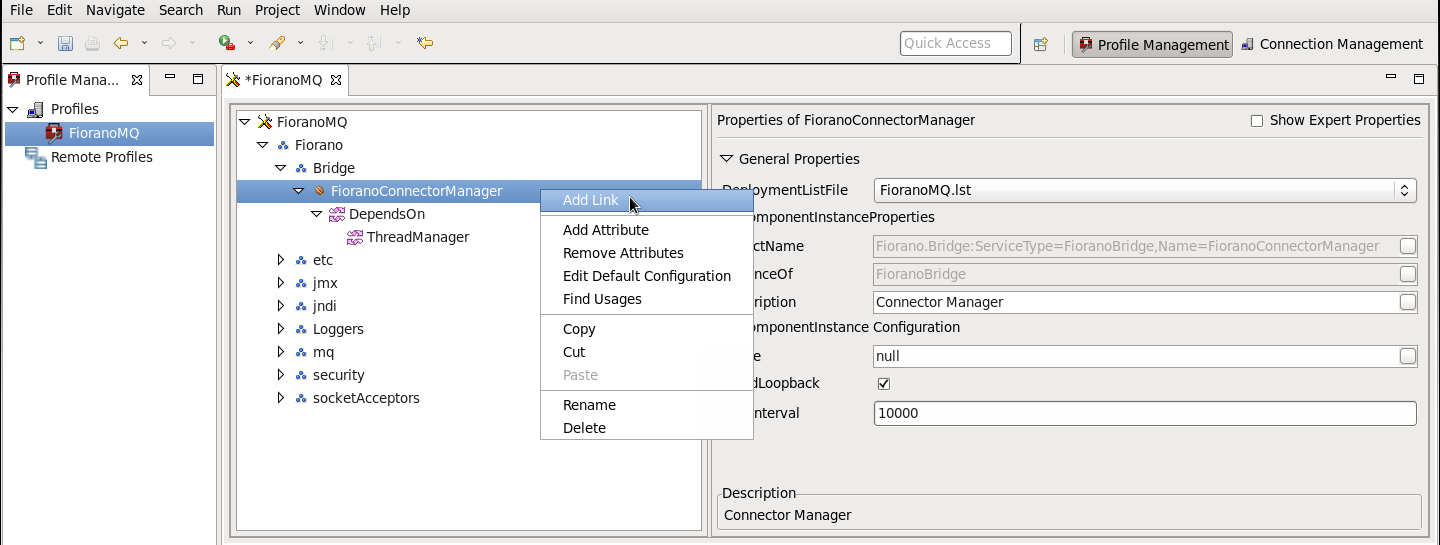
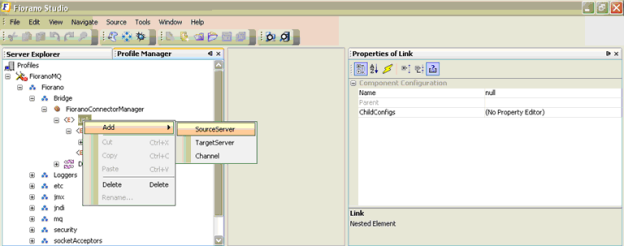
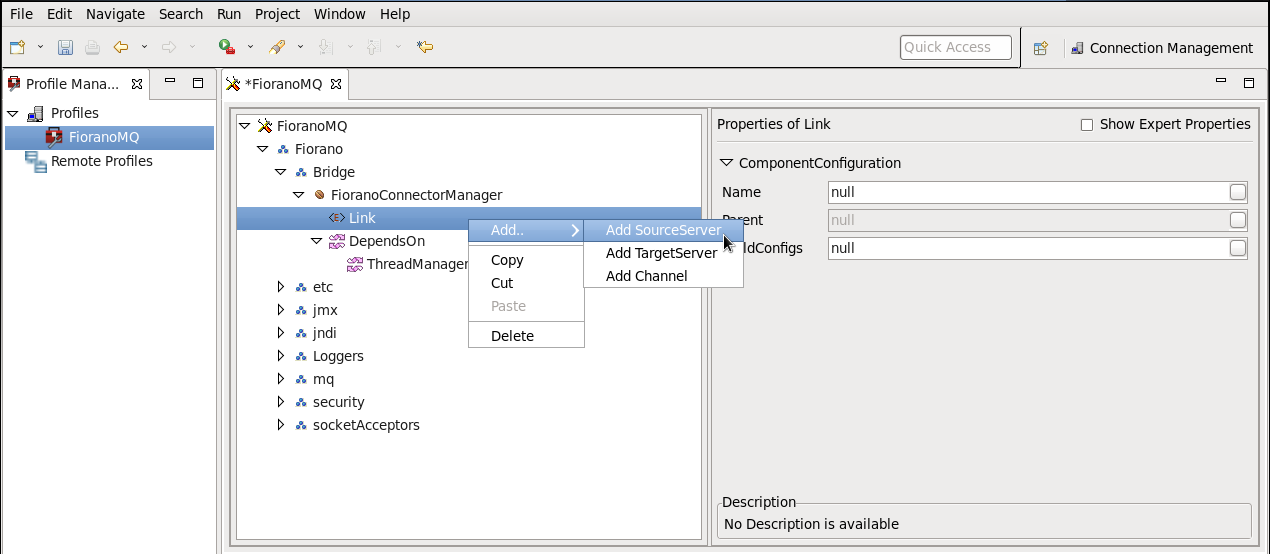
- Right-click on FioranoConnectorManager and addLink as shown below. Name the link in properties.
- Right-click Link and add source Server, target Server and channel. Add connectionInfo to the source Server and to the target Server. Add source queue and target queue to the channel. Add queueInfo to source queue and target queue. All components added need to be configured. Configuration techniques are available in Chapter: 12 Bridge.
| Anchor | ||||
|---|---|---|---|---|
|
...
- Select the Bridge node from the Server Explorer pane.
- Right-click and select the Add Link option from the pop-up menu.
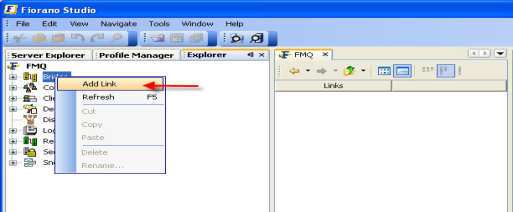

- The New Link Properties dialog box is displayed.
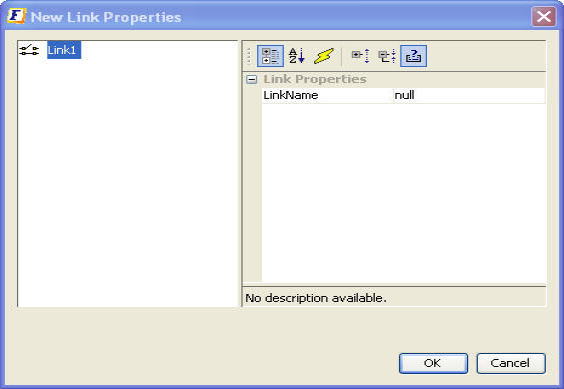
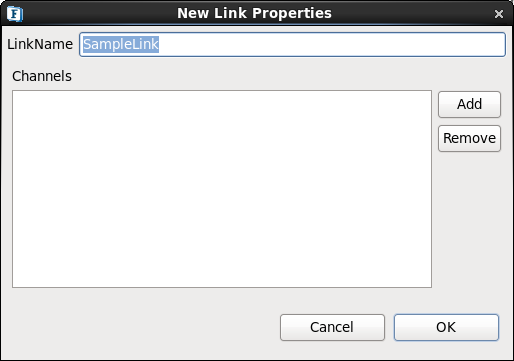
- Specify the link properties and click OK; the new link gets added as a node and displays in the Server Explorer pane.
...
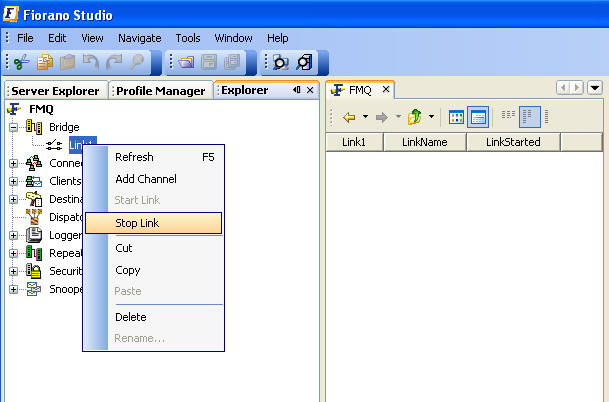
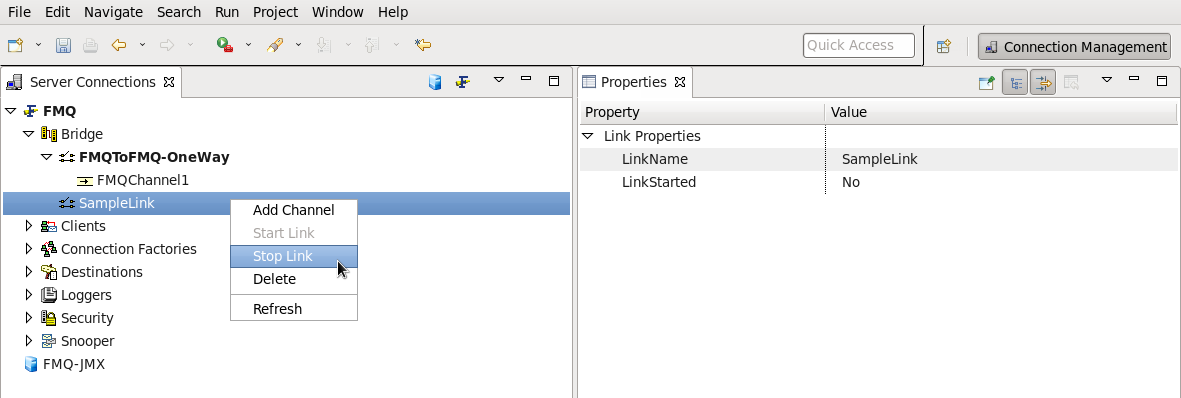
- Select the Link from the Bridge in the Server Explorer pane.
- Right-click the link and select the Stop Link option from the pop-up menu.
| Anchor | ||||
|---|---|---|---|---|
|
...
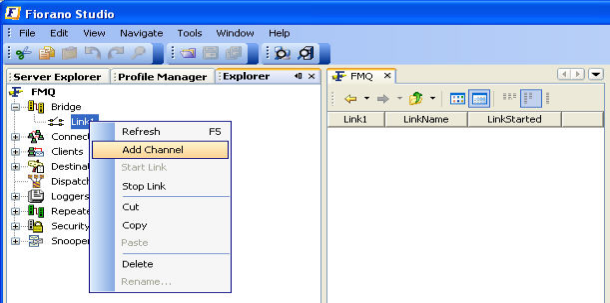
- Expand the Link sub-node from the Bridge node in the Server Explorer pane. The various channels configured within the bridge are displayed.
- Right-click any of the Channels and select the Add Channel option from the pop-up menu.
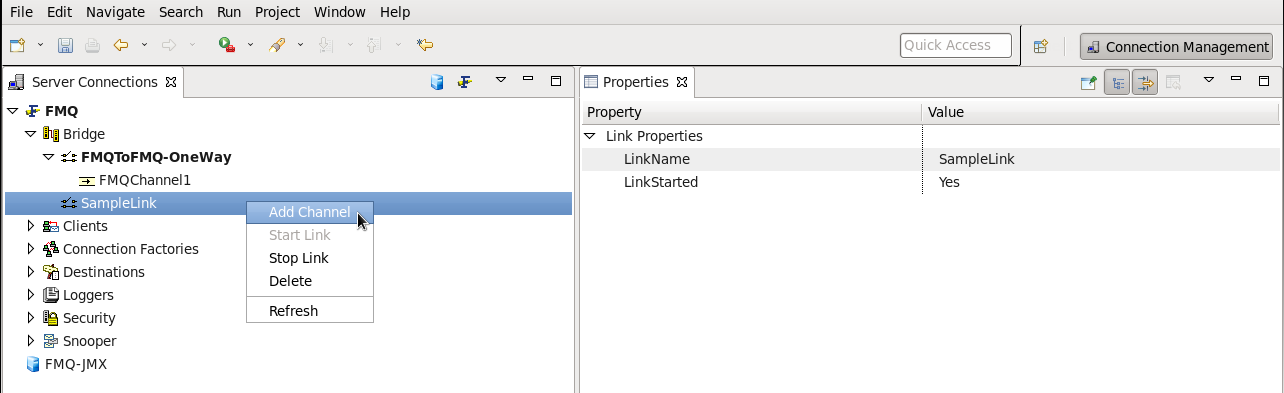
- The New Channel Properties dialog box is displayed.
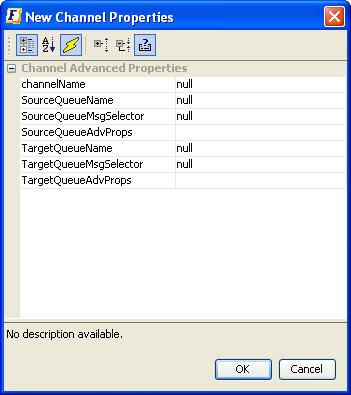
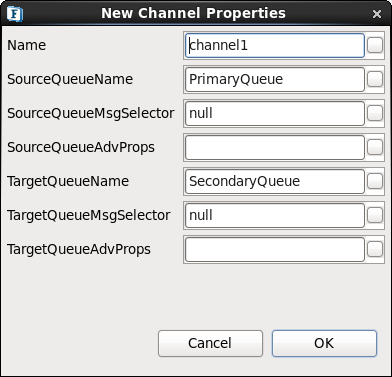
- Specify the properties and Click the OK button. The new channel is added as a node and shown in the Server Explorer pane.
...
Overview
Content Tools
ThemeBuilder