...
The Bridge can be configured in two ways through the online mode. All added configurations work as long as the Bridge is running. Once the Bridge is stopped, all configurations are lost.
Configuring
...
from the FMQ-JMX
...
login
To configure the Bridge online, login to the Bridge through FMQ-JMX from the StudioeStudio. The User can perform an RMI based JMX login to the Bridge from Studio eStudio by providing the RMI Port.
After the FMQ-JMX login from StudioeStudio,
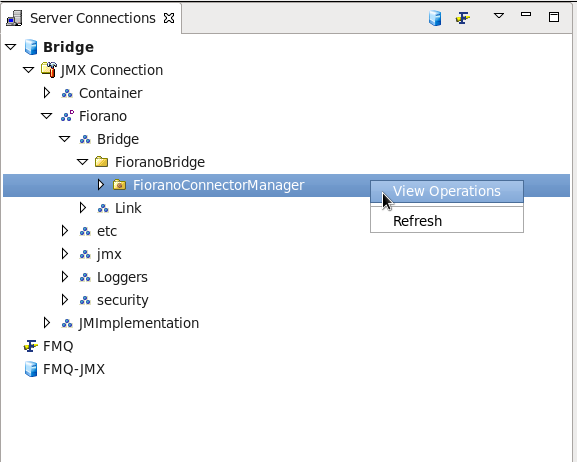
- Navigate to JMX Connection > Fiorano > Bridge > FioranoConnectorManager.
- Right-click and select View Operations option.
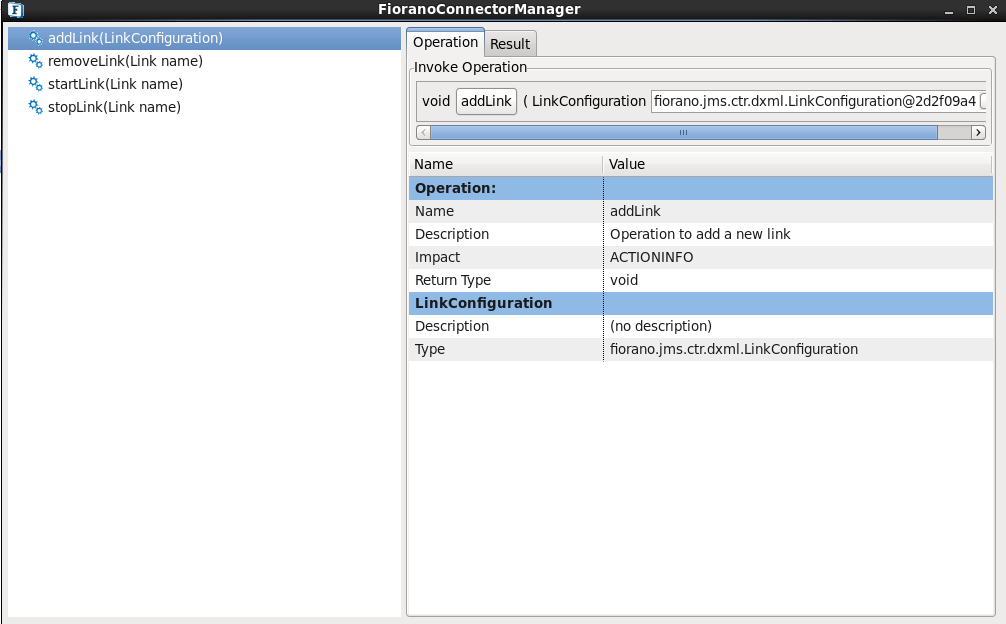
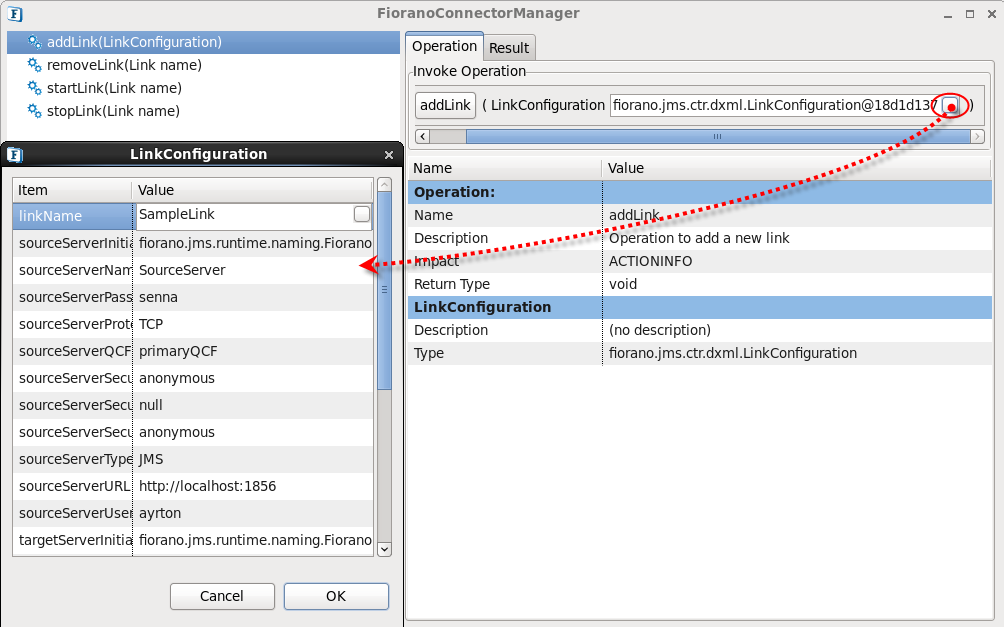
- Select the addLink(LinkConfiguration) option from the FioranoConnectionManager dialog box.

- Invoke the addLink operation by assigning appropriate values to LinkConfiguration.
- Once theLink the link is created, navigate to JMX Connection > Fiorano > Bridge > Link > LinkName. The LinkName is provided by the User when creating the link. (If the Link runtime MBean is not displayed via StudioeStudio, right-click the Link to refresh it). Perform the addChannel operation by assigning appropriate values in the configuration wizard.
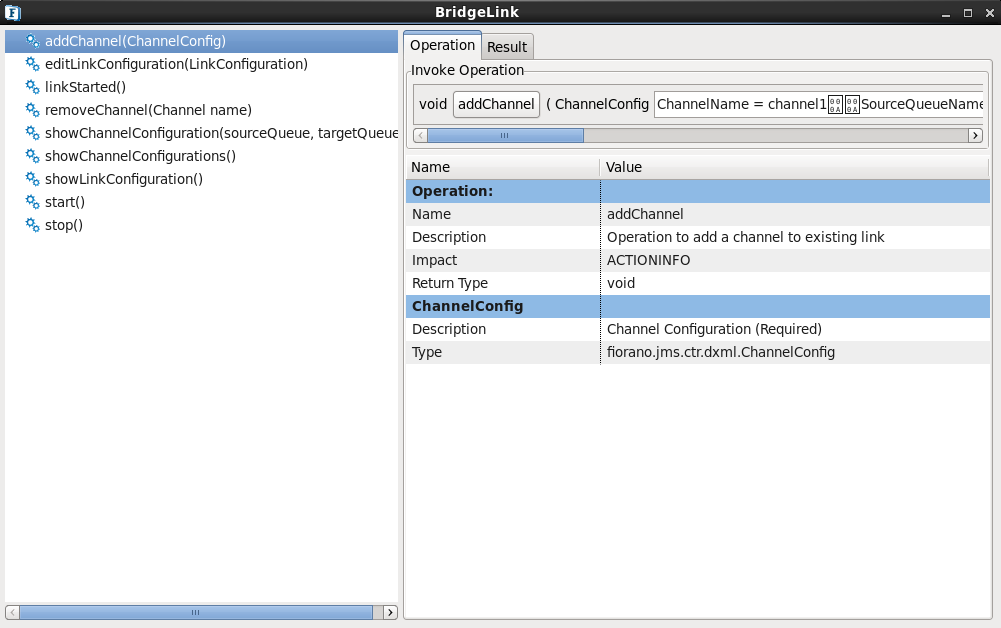
- The add channel 'function' is visible to the user at the end of performing the add channel operation. A User can modify the link configuration by performing the editLinkConfiguration operation. All offline operations can be performed here while corresponding operations are performed at appropriate locations.
Configuring
...
from the FMQ
...
login
To configure the StandAloneBridge through the FMQ login,
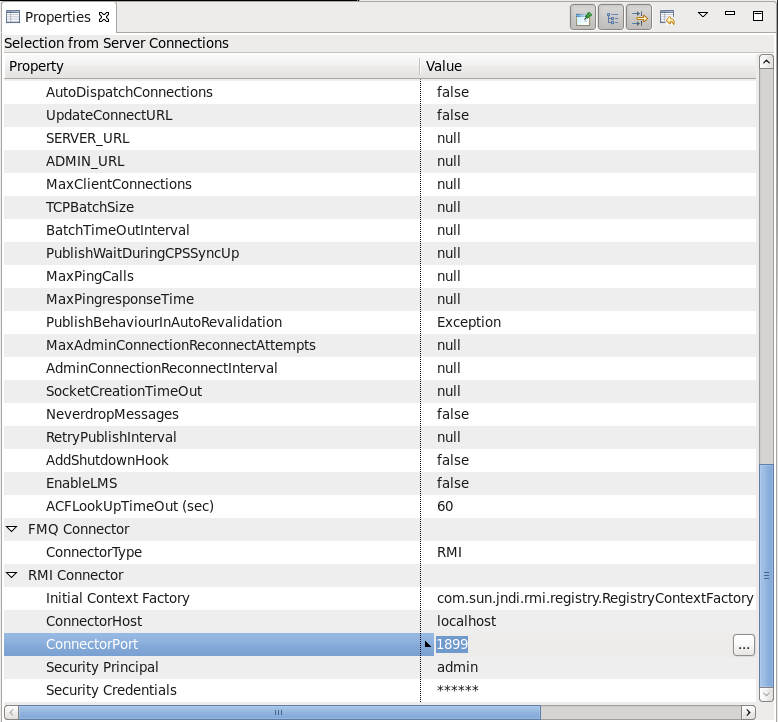
- Change the RMI ConnectorPort to the port on which the Bridge is running. By default, the ConnectorPort is 1858. Change the ConnectorPort to 1899 for StandAloneBridge. Log into the FMQ server through eStudio.
- After logging into the FMQ server, right-click on the Bridge and click the Add Link option from the pop-up menu. The New Link Properties dialog box is displayed.
In the New Link Properties dialog box, click the show expert properties icon (which is yellow in color) displayed at the top of the property sheet.
All - Click the LinkConfiguration button to view link properties; all the required properties are shown on the property sheet.
- Add the appropriate values to the required properties. Server Advanced Params can remain empty. eStudio will display the new configurations.
- Right-click the new link and perform the add channel operation.
- Assign appropriate values through the input wizard. Properties are uneditable. Once the configuration is added, a User is unable to edit parameter values. If the User needs to alter these values then the link or the channel should be deleted and replaced with a link and/or a channel that has the required parameters.
Overview
Content Tools
ThemeBuilder