...
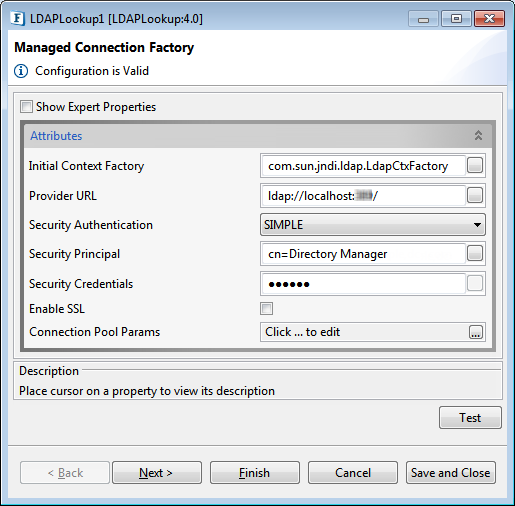
Figure 1 : Managed Connection Factory
Attributes
...
Initial Context Factory
Name of the initial context factory.
Provider URL
URL of the LDAP server.
Security Authentication
Specify the security level to use.
Security Principle
Specify the identity of the principal for authenticating the caller of the service.
| Note |
|---|
|
...
|
Security Credentials
Specifies the credentials of the principal for authenticating the caller of the service.
Enable SSL
Specify if SSL is to be used during connection.
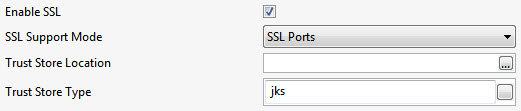
Figure 2: SSL properties
SSL support Mode
Specify whether to enable SSL via SSL Ports or bu using Start TLS extension in LDAP.
Trust Store Location
Location of the Trust Store
Trust Store Type
Provide type of the Trust Store; default value is "jks".
Connection Pool Params
Various parameters to be used in connection pooling of EIS connection.
Refer to the Connection Pool Params section in the Common Configurations page.
Interaction Configurations

Figure 23: Interaction Configurations
...
There areseparate attributes for different Operation options; each one is described below disabling Expert Properties as it appears the same for all options.
Authentication

Figure 34: Authentication Operation Attributes
The component acts as an authenticator. The properties configured in the Managed Connection Factory panel are the ones required for authentication.
Lookup
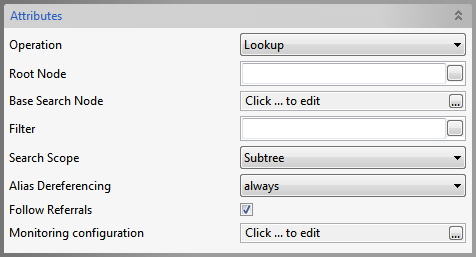
Figure 45: Lookup Operation Attributes
| Property | Description |
Root Node | Specify the Distinguished Name (DN) of an entry, the sub-tree of which you want to view in the editor that opens with the property. |
Base Search Node | Choose the DN of the entry whose sub-tree and the entry by itself have to be searched for |
Filter | Specify the search constraints to be applied on the entry represented by 'Base Search Node' and the entries in its sub-tree. |
Search Scope | Specify the scope of the search. |
Alias Dereferencing | Specify how aliases are to be dereferencing during search operation. |
Follow referrals | Specify whether referrals are to be followed or ignored. |
Compare
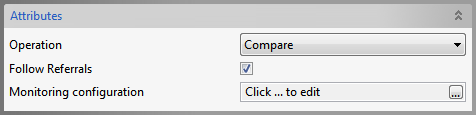
Figure 56: Compare Operation Attributes
...
Specifies whether referrals are to be followed or ignored.
Bind
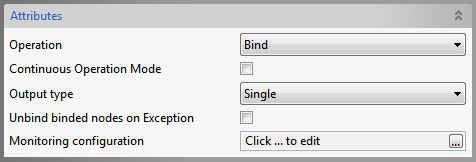
Figure 67: Bind Operation Attributes
...
Specifies the action(Unbind already binded nodes/Leave them binded) when an exception occurs while adding some node.
Modify
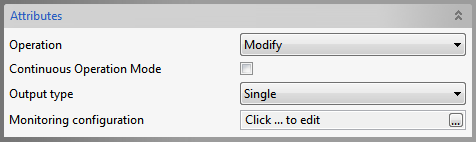
Figure 78: Modify Operation Attributes
...
Refer the Bind section above.
Delete
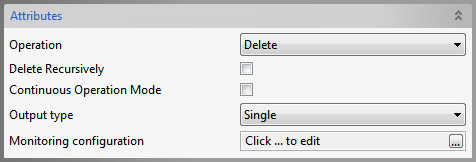
Figure 89: Delete Operation Attributes
...
Refer the Bind section above.
Rename
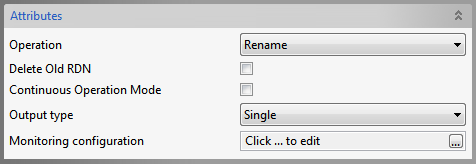
Figure 910: Delete Operation Attributes
...
Refer the Bind section above.
Change Password

Figure 1011: Change Password Operation Attributes
The properties configured in the Managed Connection Factory panel are the ones required for Change Password operation.
Poll
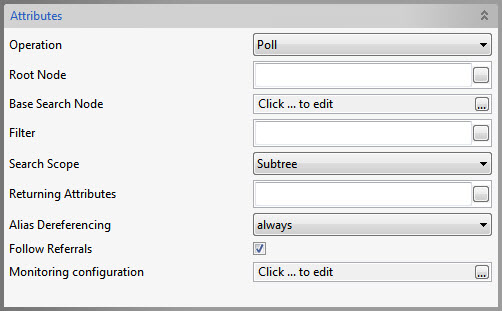
Figure 1112: Poll Operation Attributes
...
| Warning |
|---|
Expert properties are meant for advanced users. Use with caution! |
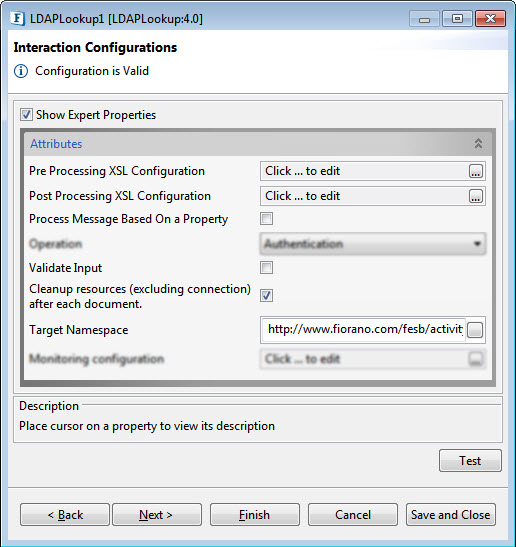
Figure 1213: LDAPLookup CPS with the Expert Properties enabled and highlighted
...
On enabling scheduling, we can set the repeat interval in milliseconds/seconds/hours/minutes/days unit and the repeat period can be set as Repeat forever or the number times can be specified too as an alternative.
Another scheduling option is to set the start time and date which helps to control the start of scheduling process.
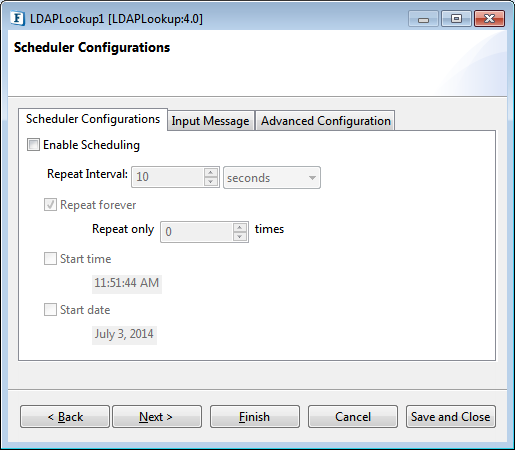
Figure 1314: Scheduler Configurations
...
Transport Configurations panel is used to configure messaging properties when the component is configured in Scheduling mode.
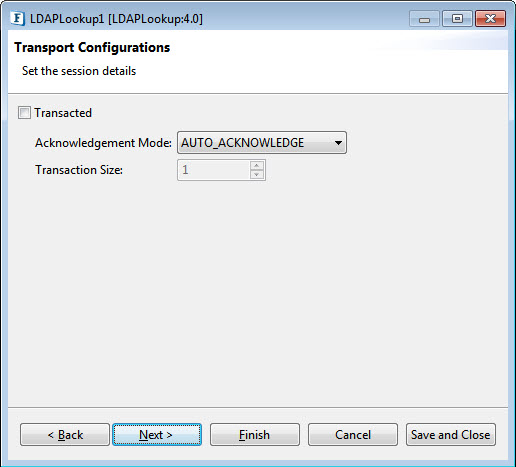
Figure 1415: Transport Configurations
...
The remedial actions to be taken when a particular error occurs can be configured here. Click the ellipsis button against this property to configure Error Handling properties for different types of Errors. By default, the options Log to Error Logs and Send to error port are enabled
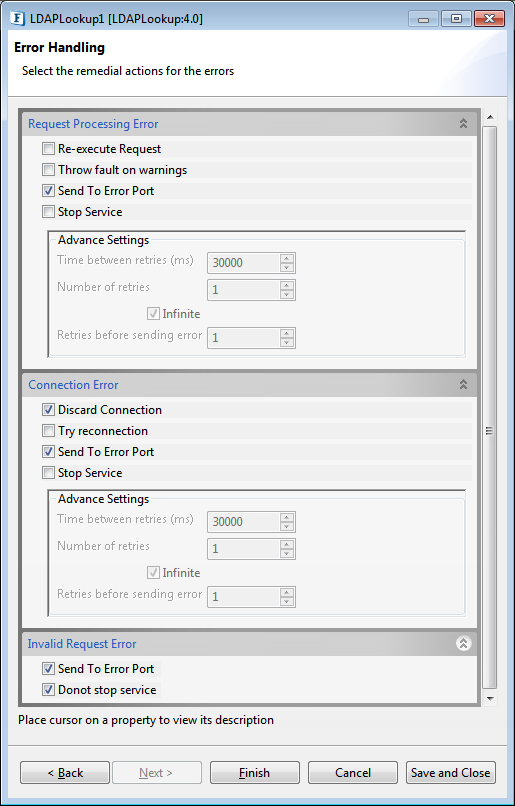
Figure 1516: Error Handling Configurations
...
Sample 1: Bind Configuration
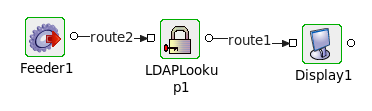
Figure 1617: LDAPlookup event flow
- Connect the LDAPLookup1 adapter to a Feeder and a Display as shown in the figure above.
- Launch the configuration wizard by double-clicking the LDAPlookup icon in the Fiorano Orchestrator.
- Set the fields in the Managed Connection Factory configuration page as shown in Figure 1.
- Choose the Operation as 'Bind' in Interaction Configuration panel.
- Save and close the wizard and open feeder CPS.
To create a user in the server, enter the following in the feeder :
Code Block language xml <?xml version="1.0" encoding="UTF-8"?> <ns1:Input xmlns:ns1="http://www.fiorano.com/fesb/activity/LDAPLookup1/In"> <Node> <dn>cn=testuser,dc=fiorano,dc=com</dn> <objectClass>person</objectClass> <cn>testname</cn> <sn>surnam</sn> <userPassword>fiorano</userPassword> <Description>Description</Description> <AdditionalAttribute> <Name>location</Name> <Value>hyd</Value> </AdditionalAttribute> </Node> </ns1:Input>Note The value of "dn" will depend on server type. The above is for 389-ds server.
- Perform CRC (resource and connectivity) and then launch the event process. This will create a new user in the 389-ds server.
...
- Follow steps 1-3 from sample 1.
- Choose the Operation as 'Authentication' in Interaction Configuration panel.
- Click the Test button.
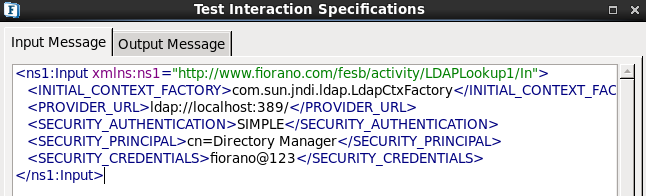
Figure 1718: Authentication Configuration - Enter the above details in the Input Message tab.
- Click the Validate button and then click the Execute button to get the following result.

Figure 1819: Authentication Configuration Result
...
- Follow steps 1-3 from Sample 1.
- Choose the Operation as 'Change Password' in Interaction Configuration panel.
- Click the Test button.
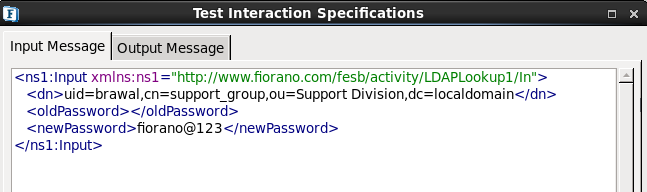
Figure 1920: Password Change Configuration
- Specify the Distinguished Name, old password and new password
- Click Validate then click Execute to get the following result.
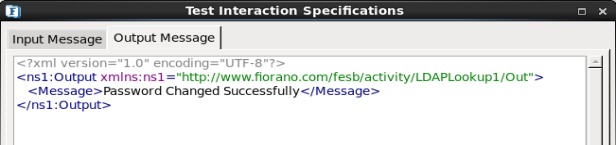
Figure 2021: Password Change Configuration – Result
...
- Follow steps 1-3 from Sample 1.
- Choose the Operation as 'Delete' in Interaction Configuration panel.
- Click the Test button.
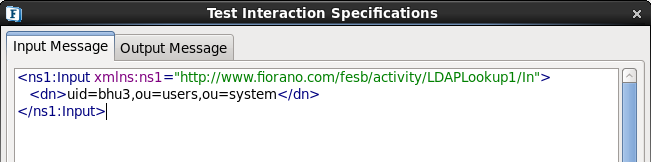
Figure 2122: Delete Configuration specify-dn
- Specify the distinguished name of the entry to delete.
- Click Validate and then click Execute to get the following output.
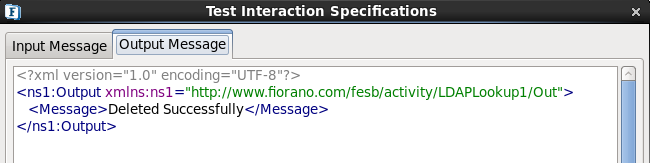
Figure 2223: Delete Configuration - Result
...
- Follow steps 1-3 from Sample 1.
- Choose the Operation as 'Rename' in Interaction Configuration panel.
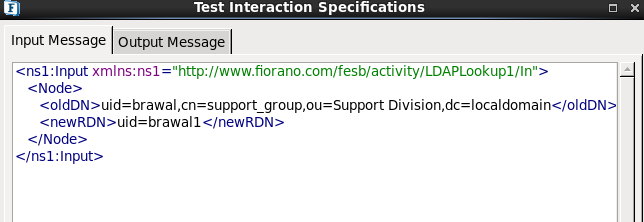
Figure 2324: Rename Configuration
- Enter the old Distinguished Name and the new relative distinguished name.
- Click Validate and click Execute to get the following result.
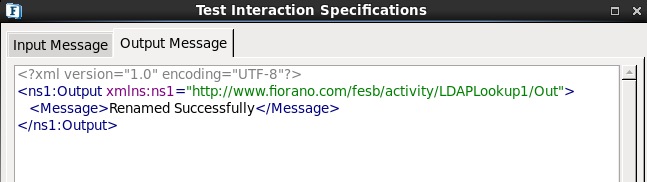
Figure 2425: Rename Configuration - Result
Continuous Operation Mode and Output Type: Refer Modify section above.